
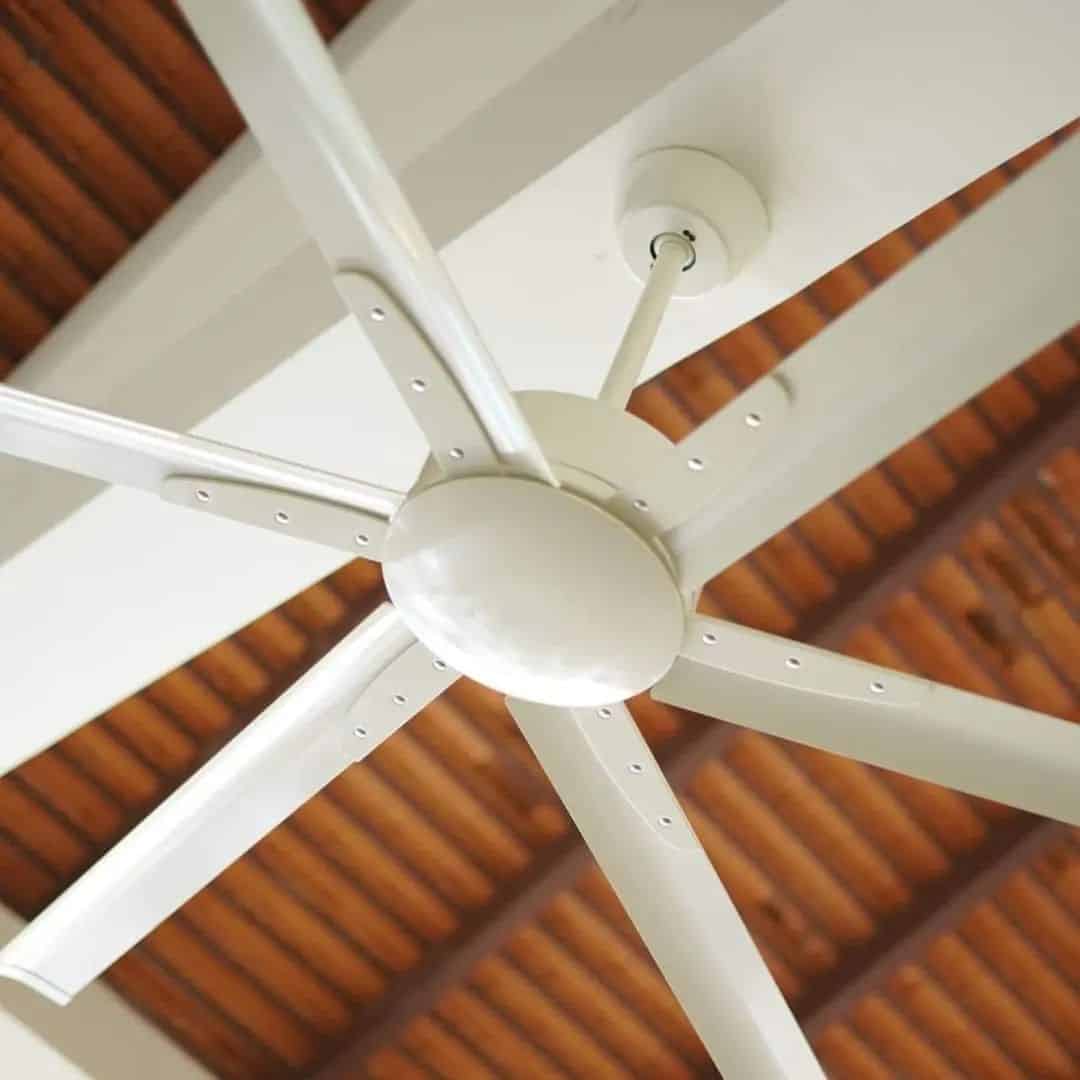
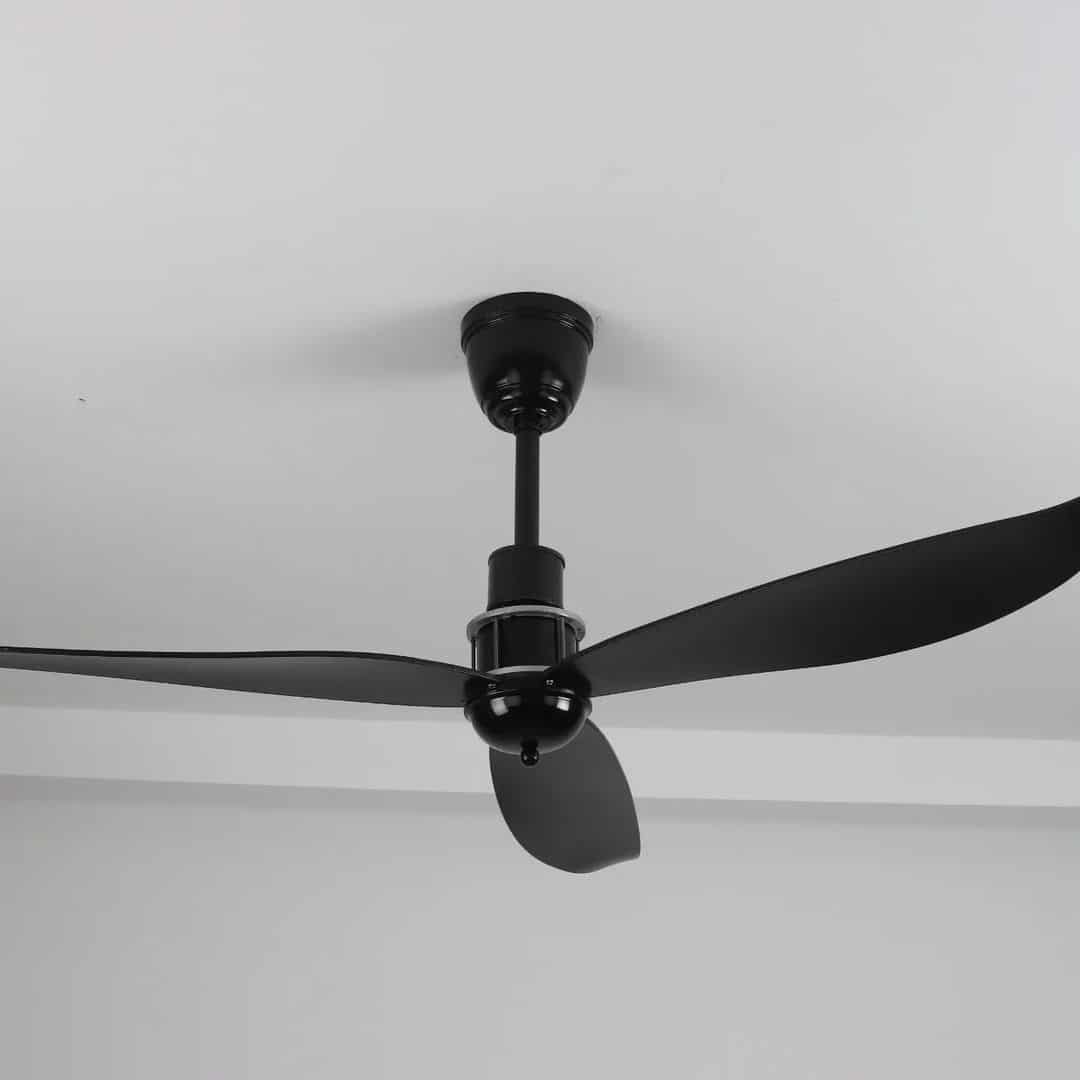
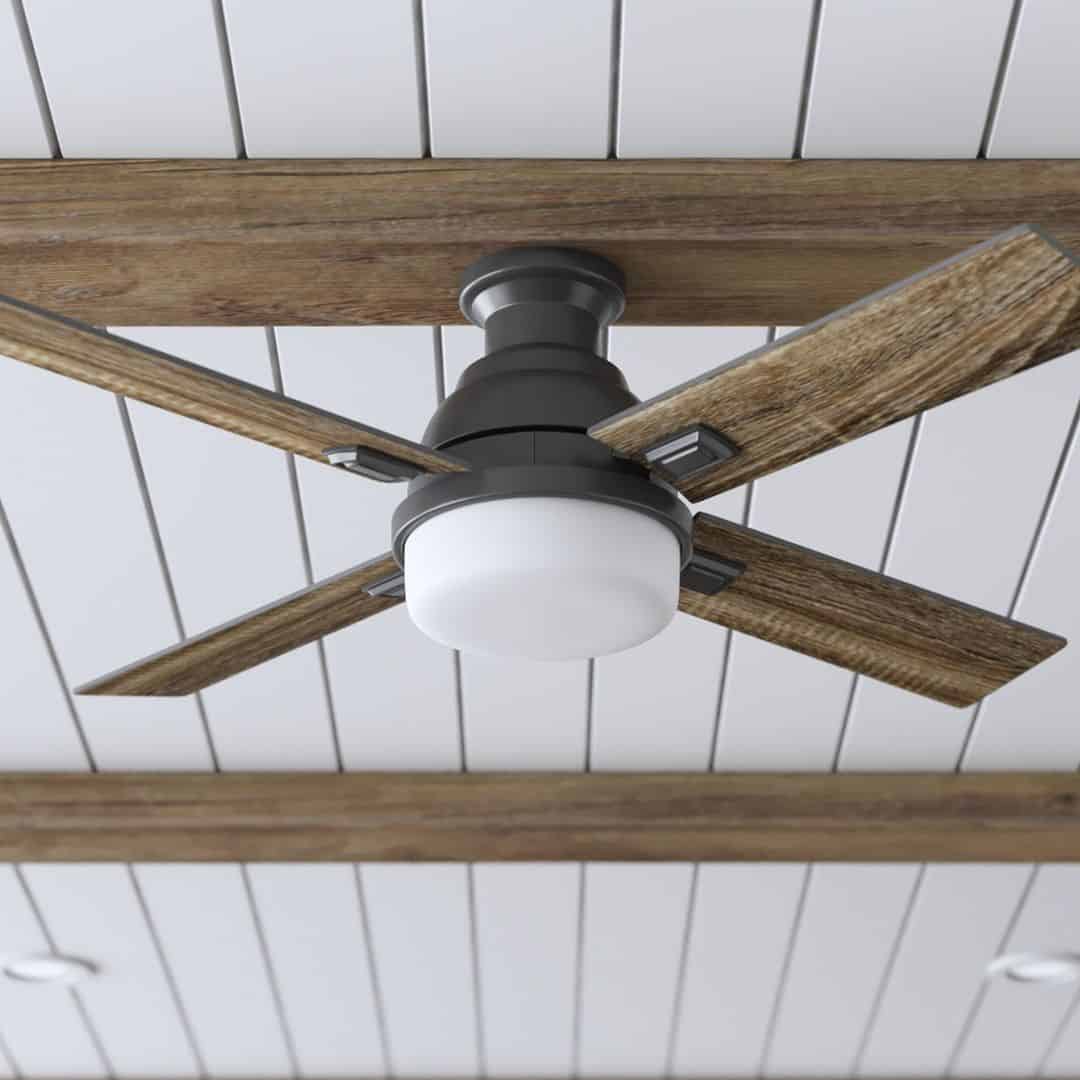
Since ceiling fans were invented in 1882, people across the globe have been using them to keep their homes cooler. Installing a ceiling fan should be straightforward, but unfortunately, this is not always the case when the mounting bracket does not fit. What can you do when that happens?
In this article, we share with you what to do when the ceiling fan mounting doesn’t fit.
What Can You do When The Mounting Bracket Doesn’t Fit?
When your new ceiling fan doesn’t fit the mounting bracket for your existing fan, you have two options. You can either replace the bracket or you can replace the electrical box. It is easier to change the bracket than the ceiling fan box.
Choosing The Right Mounting Bracket
To start, you need to know which mounting bracket to get. You need to find one that is compatible with the electrical box and your fan. There are two ways you can ensure you get the right mounting bracket.
The first is to check the list of compatible fan devices on the bracket specification. The second is to take the measurements of your ceiling fan and junction box and choose the bracket that matches your measurements.
Note: Sometimes, it is not possible to find a mounting bracket that works with your ceiling fan. If that happens, you will need to change the junction box and we have included information on that later in the article.
How to Install a Mounting Bracket
While there are multiple styles and sizes, most brackets are fitted in the same way. You will find multiple screw holes on the bracket to allow for a range of mounting patterns. Most brackets also come with keyhole slots, which allow you to adjust the position of the bracket so you can find the right spot for the screws.
To install the bracket, turn off the power from the breaker box and align the bracket with the junction box. Mark the right position with a pencil. Next, attach the bracket to the junction box with the mounting screws. Now you are ready to attach and wire your fan.
What if You Need to Replace the Junction Box?
If finding the right bracket proves impossible, you will need to change the box. This is a more complicated procedure, but you can do it with some DIY experience, and find all the steps below.
Choosing a Replacement Junction Box
To start, you need to find a ceiling junction box that is the right fit for the bracket. Like brackets, there are different types of junction boxes. They are either round or square and will attach either to a beam or to the side or between ceiling joists.
Use the measurements of the bracket to get the right box from a hardware store. You also need to ensure it supports the weight of the fan and possibly a light fixture, too.
Junction Box Installation
Once you have your new junction box, you need to ensure you have the tools you need for the job.
You will need:
- Cordless drill or screwdriver
- Voltage tester
- Pencil
- Optional: hacksaw, hammer, pliers
Step One
Turn off the power to the junction box from the circuit breaker. Next, use the voltage tester to ensure there is no power supply to the wires inside the junction box.
Step Two
Locate the junction box for the ceiling fan. Pull the electrical wires from the junction box. Sometimes there will be a cable clamp. You will need to loosen it with a screwdriver before you can pull the wires out.
Step Three
Once the wires are out, remove the screws and pull the junction box out. If your new box is bigger than the old one, you will need to cut a bigger mounting hole in the drywall with the hacksaw before you can install the new box. Place the new box in the opening and insert the wires through the hole at the back of the box. Connect the wires.
Step Four
The next step is to insert the fan brace so that the square tube is in the center of the mounting hole. With your hand, rotate the brace until it is secure. Now you can attach the fan brace and thread the cable into the junction box.
Step Five
Follow the manufacturer’s instructions to thread the cables through the mounting bracket. Next, if your fan has a slide-on bracket, slide the fan bracket over the mounting screws and tighten it. Brackets without a slide-on system can be placed over the bolts and then use the nuts that came with the fan to secure them in place.
Step Six
Now you are ready to set the downrod. Slip the canopy onto the downrod and run the wires through. Use the cotter pins to connect it to the fan’s base. If you are using a flush mount fan, thread the wiring through the canopy ring.
Step Seven
Next, you need to connect the fan to the electrical system. Usually, the insulated wire connects with the ground wire and you can use the color of the wires as a guide, Check they are correctly connected and push them into the junction box. Note that you may shorten them with pliers before connecting.
Step Eight
Now you are ready to attach the ceiling fan blades and the bulb. The fan blades attach to the blade bracket. Some fans have quick-install blades for quick blade assembly, others use screws to fix the blade arms. When the blades are attached, install the light bulb. Use the instruction manual for this step as fan lights come in several variations.
Turn the power back on from the electrical panel to check everything works correctly.
Conclusion
If you have bought a new ceiling fan and the mounting bracket doesn’t fit, in most cases it is a very straightforward job. While replacing the mounting bracket is easier than replacing the junction box, both jobs can be done by anyone with some DIY experience.
However, if you are not confident with electrical wires, you may need to ask someone to help you with fitting and installing a new junction box.
If you have any questions on the topic, you can write them in the comments section.