
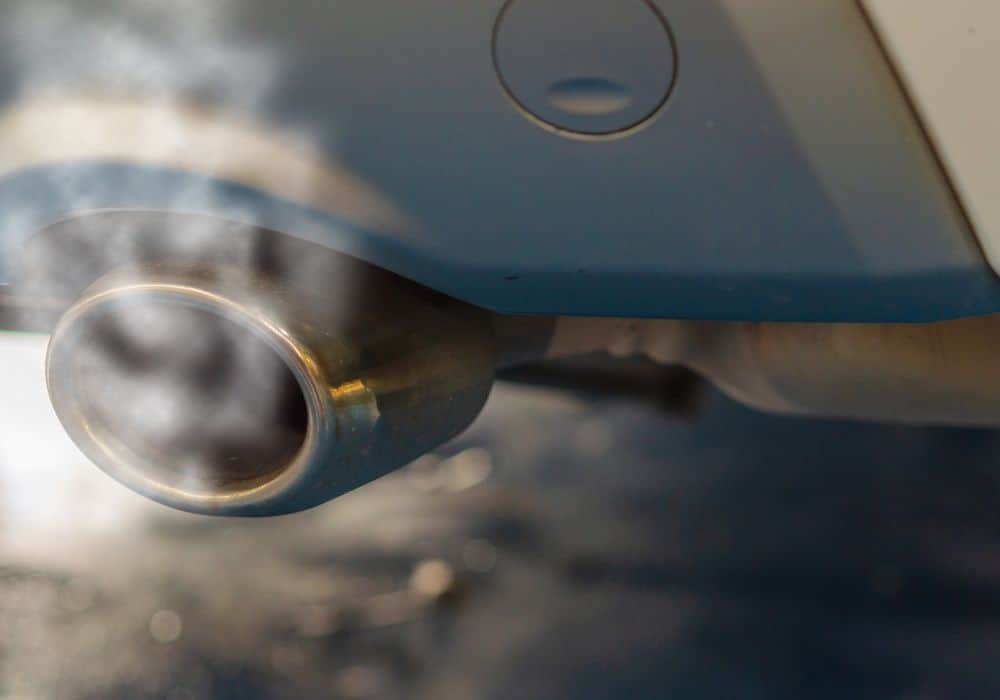
The exhaust pipe is an essential part of your car. It helps remove harmful fumes from the engine and cabin and improves fuel consumption and car efficiency.
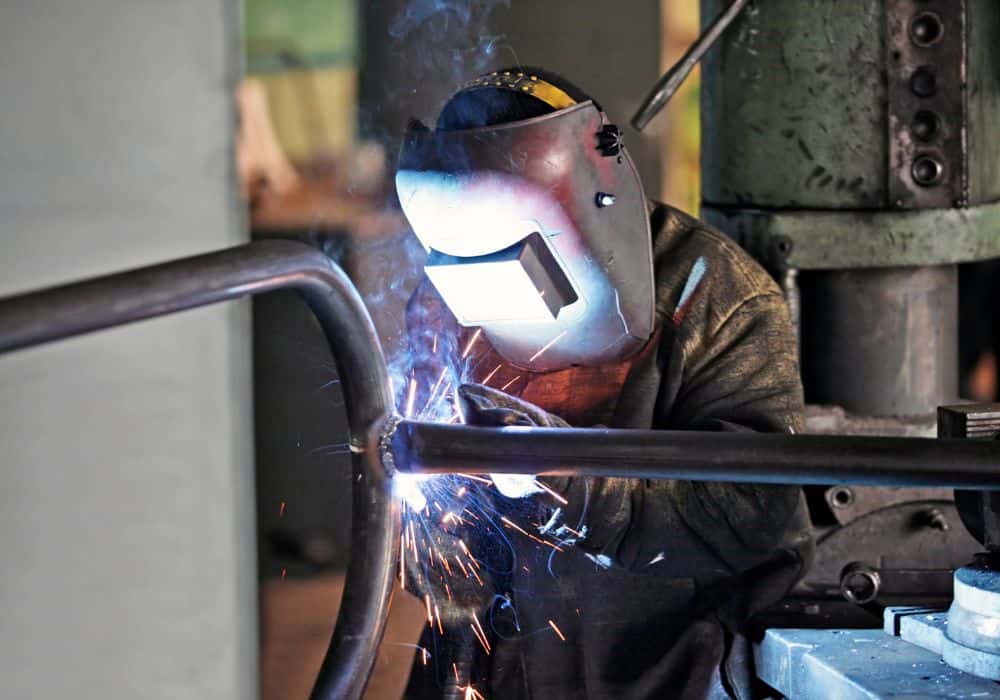
When the exhaust pipe breaks, it can devastate not only your car but your wallet too. But what if we told you there’s an easy way to mend your exhaust pipe in the comfort of your own home? All you need is a MIG welder.
A MIG weld, or metal inert gas, uses an electrode wire as a filler material and shielding gas to apply a weld. The result is a quick, cheap, but most importantly strong, hold between two pieces of metal.
A MIG weld is an ideal technique for thin pieces of metal like exhaust piping. And in this article, we’ll show you just how easy it is to perform your very own weld.
We’ll talk you through every step of the process, link incredibly detailed tutorials, share our expert and safety tips, and provide you with all the information you need.
Equipment you will need:
Below are the tools you will need to complete a MIG weld on an exhaust pipe:
- MIG Welder
- Protective clothing, including helmet, mask, eye shield, and fire-resistant gloves and shoes
- Welding blanket
- Clamps
- Wire brush, cloth
- Straight grinder (optional)
- Ventilated workspace
- Scrap material to practice on
7 Steps to Mig Welding an Exhaust Pipe
1. Cleaning your workspace, materials, and exhaust pipe
The first and most overlooked step to MIG welding is cleaning your workspace and materials. Any contamination can affect not only the appearance of the weld but also its quality and can potentially send debris flying off at you during the welding process.
Cleaning is quite simple and straightforward. Using a wire brush, scrape off old paint or rust gathered on metal and nearby surfaces. You can also use a cloth to wipe off any residue, including grease and oil. You can also use a straight grinder to smooth out any abrasions on metal surfaces.
2. Safety Tips
Next, you must focus on protecting both yourself and your car. Wear protective clothing at all times when welding, and ensure the room is properly ventilated. Never remove protective gear when in the vicinity of the welder.
You should disconnect the car battery and any electrical systems when soldering the vehicle’s exhaust pipe. Currents can flow from the welder and damage or short-circuit components, causing a great deal of damage to your car. Avoid welding near the gas tank.
Next, examine the wire spool mechanism. Ensure the wire is rust-free and has adequate tension to feed the welder. Check and replace any mishappen contact tubes.
Pro Tip: Welding blankets can protect your car and workspace from stray sparks, splatters, and flying pieces of metal.
3. Setting up your MIG weld
As the above video recommends, you should familiarize yourself with your MIG welder’s settings before you begin. Generally speaking, the following instructions can help you set up your MIG welder quickly and safely:
- Chain gas cylinder to welder
- Turn shielding gas on (usually CO2 or Argon). Check for leaks by applying soapy water solution to the hose. If bubbles appear, disconnect the hose immediately and install a replacement.
- Plug the welder into the power source and switch on
- Adjust settings and secure earth clamp to work
4. Tack weld around the joint
Once you’ve prepared yourself, it’s time to ensure the exhaust pipe stays at the desired angle during welding. You can use clamps or magnets to hold the pipe in place and apply temporary tack welds to secure its position.
Tack welds are small, temporary welds that keep the pipe in place. Think of them as the foundations for where the final weld should be. Use can use smaller diameter wire and more voltage than normal to create quick, easy, but effective tacks. If you don’t apply tack welds, you risk fusing the exhaust pipe in the incorrect position.
Pro tip: Whenever using magnets, ensure they do not attract foreign metals onto the workspace, as these can negatively affect the quality of the weld.
5. Start with low heat, slowly
Exhaust pipes are thin stainless steel pieces, averaging about 1.6 mm (0.06″). If you’re new to MIG welding, starting at low heat is important because you can easily burn through the metal.
Apply an even distribution of heat across the exhaust pipe is easy by following three of the following techniques:
- Backstepping (individual welds are placed in a sequence)
- Staggering (two lines intermittent welding on a joint)
- Simply allowing the joint to cool
Adopting a two-handed grip is the easiest way to apply an even weld. For beginners, testing out your MIG welder on scrap pipe can allow you to familiarize yourself with the torch, how to control it, and slowly build up your confidence.
6. Finishing your welding session
Even when you’ve finished applying a consistent weld around your exhaust pipe, you must still adhere to strict safety precautions.
Unclamp the earth lead, coil up the welder, and wait for the handgun to cool. Please turn off the shield gas and power of the welder, unplug it and move it to a safe, designated space.
Do not remove your protective clothing, including your mask and eye gear, until you are away from your workshop. This ensures you do not inhale any chemicals that could still be wafting in the air.
7. Clean, polish, and finish
It would be best to wait 24-48 hours after welding to examine the final result. This gives the metal enough time to cool and for any potential cracks or blemishes to surface.
If your exhaust pipe is hidden, appearances won’t matter much. But if visible, you may want to grind the weld and buff it to make a seamless finish along the bead.
Expert Tips:
- Please read the instructions carefully: Every MIG welder will have its own recommended voltage and wire speed settings. Consult the instructions of your model carefully.
- Rely on tacks: Tack welds are temporary fixtures that keep your exhaust pipe in place. Do not skip placing these markers in.
- Listen to your machine: The MIG welder’s sound can tell if the device is malfunctioning. For example, if it hisses, your voltage may be set too high; if it’s low and raspy, the voltage is low. A crackling sound is a tell-tale sign your amperage is too high.
- Too fast? Too slow? Every job requires a different welding speed; you will only know how quickly to move across the seam by continuously monitoring your work. If you move too fast, heat application will be sparse. Too slow, and you’ll build up an oversized bead.
- Don’t stand too far back: If you stand too far back from the metal, your MIG welder applies less heat, resulting in a less effective weld. Try to maintain a 3/8″ distance for optimal heat application.
- Replace parts: Examine your equipment before, during, and after every weld, as broken or misshapen pieces can affect the quality and effectiveness of the arc. Please pay close attention to the contact tips, as they wear down considerably fast.
- Practice makes perfect: If unhappy with your welds, examine the bead to diagnose what went wrong. For example, convex-shaped beads are often a result of low voltage. A” splattered” bead may have resulted from dirty, contaminated surfaces. Learn from your mistakes.
- Safety post-welding: Only take your safety clothing and mask off when away from your welder. This ensures you avoid any hazardous chemicals and only breathe in the fresh air.
Conclusion
It’s easy to see why MIG welding is one of the most popular welding methods for both amateurs and professionals alike. It works great on thin metals like those commonly found in exhaust pipes and allows for quick, easy, and affordable repairs.
But like any welding process, you must follow strict guidelines to achieve the best results. We recommend you test your welding on scrap material beforehand to build up your confidence and skill slowly. If in doubt, refer to the welder’s manual, and apply slow, low heat to avoid damaging the exhaust pipe. Only then will the bead on your exhaust pipe look professional and last the test of time.
If you have a welding question, then please leave a comment below. But if in doubt, remember, every successful MIG welding relies on the following 3 points:
- Ensure you have a clean workspace, equipment, and exhaust pipe
- Read the instruction manual carefully and can confidently turn off the machine
- Slow, low heat can help apply an even weld.