You just decided to try a DIY project you saw online and would love to paint your furniture a new color – but you notice you need to use a primer first.
Maybe you have heard the warning that primers must be allowed to dry before painting. This is because primers should be used on clean surfaces, and paint will not stick to a dirty surface. But what does this really mean? How long does primer take to dry? And how long can you leave it sitting around?
We’ve got answers —and a few tips for getting the most out of your paint job!
What is a primer?
A primer is a thin layer of paint that is applied to any surface before painting. It protects the surface by filling in cracks and gaps between the layers of paint, making them less visible and creating a smooth surface for the next layer of paint to sit on.
Primers are usually clear but can be colored if desired. They may also contain dyes or pigments that help make them more colorful or decorative than just straight white primer would look like alone on top of a gray-colored wall or ceiling.
Primer is used on wood, metal, plaster, concrete, and many other surfaces. Priming helps protect them from the harsh chemicals in paint, which can damage the surface.
Do you always need to let a primer sit before painting?
The answer to this question may seem obvious, but it’s essential to understand why primer needs time to cure before painting.
A primer protects the surface from stains, dirt, and other contaminants while allowing the paint to adhere to it. If the wall is still wet from the primer, the coat of paint won’t stick to it.
There are two kinds of primers: oil-based and water-based. Water-based primers dry much faster than oil-based ones (which are more viscous). So it all comes down to the primer type you decided to get and the manufacturers.
Sometimes, it might take two hours or even longer for your layer of primer to dry. If you’re not sure when you should expect it to be ready for new paint, here are some signs that you might have a primer problem:
- -Your primer is still tacky after two hours.
- -The surface of your house is starting to get bumpy and uneven.
- -Your paint won’t stick because the surface under the paint is still wet.
Types of primers
Primer can be made from the following three main ingredients:
- resin (which is derived from natural resources)
- pigment (which is derived from crushed minerals)
- solvent (which dissolves the resin)
The size of the particles used in the resin determines how thickly it will spread over the surface. Coating a large area with primer can take hours per square foot; small areas may need only minutes.
There are many different types of primers for different materials: oil-based for wood; latex for latex paint; water-based for oil-based paints; and even flammable ones for use on electrical wires. Each type of primer has its own advantages and disadvantages when applied with various paints and methods.
Choose a product made for the type of surface you’re working with (e.g., wood or metal). The label should state whether it’s for indoor or outdoor use, as well as its durability ratings (i.e., how long it will last if exposed to weather conditions). If possible, test out different types before making a decision about what works best for your project. This video will help sort out any questions you might have.
1. Oil-based primer
Oil-based primers are thicker than water-based ones because they contain more pigment (like white paint) and have more metal fillers mixed into them; this gives them shine as well as protect better.
The average time for oil-based primers to cure is about 24 hours. The paint will be dry to the touch in a few hours, but it will take longer than that for the primer to harden completely (cure). That’s why not a lot of people prefer this type of primer, as it can take longer to dry.
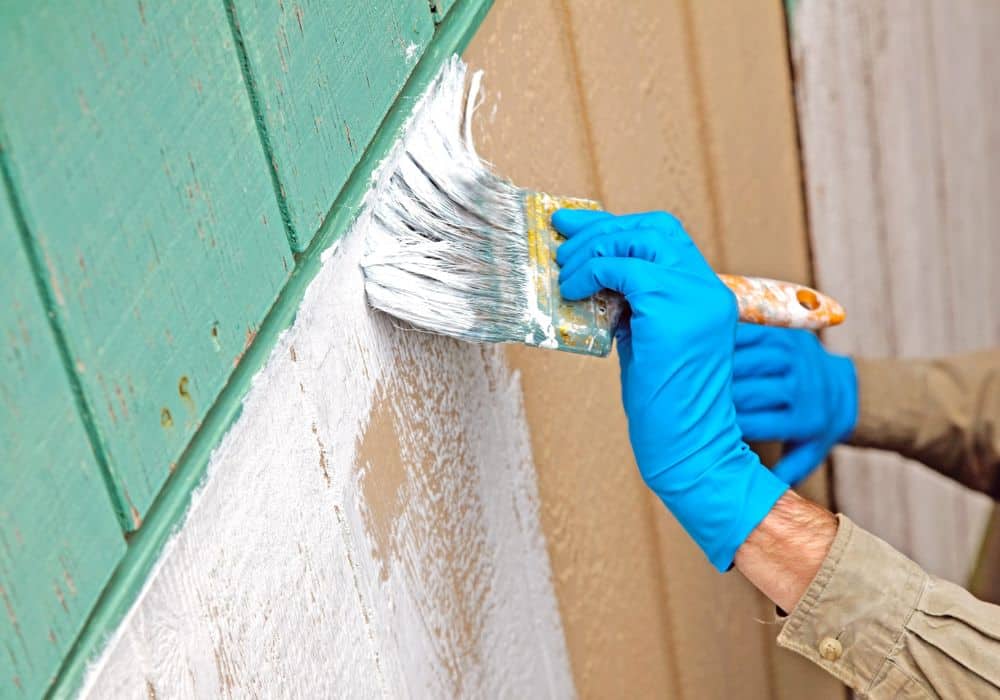
To apply an oil-based primer, you will want to use a rolling brush or a roller with a nap that is fine enough so that you don’t leave behind brush marks. You can also use a sponge roller if you prefer.
You will want to go over the primer once with your roller or brush and then wait 30 minutes before going back over it again. This allows the primer to begin drying and will help ensure that you don’t get any sags or runs in your paint job. Once the primer has dried completely, you can then proceed with painting your wall with your desired color of paint.
2. Latex primer
Latex primer is a sealant for surfaces. It’s also known as a water-based primer and is used to coat drywall, wood, masonry, and metal. It helps the paint adhere to the surface and create a smooth, even finish. It also helps protect the surface from moisture, stains, and dirt.
The best time to apply latex primer depends on the condition of your walls or woodwork before you paint. If your walls and woodwork are in good condition, then you can apply latex primer as soon as you’ve finished cleaning them with soap and water.
Most water-based primers dry relatively fast, in 3 or 4 hours. After that, they will be good to use for the next 30 days. As long as you paint your surfaces in that time period, your paint will stick with no problems.
3. Urethane primer
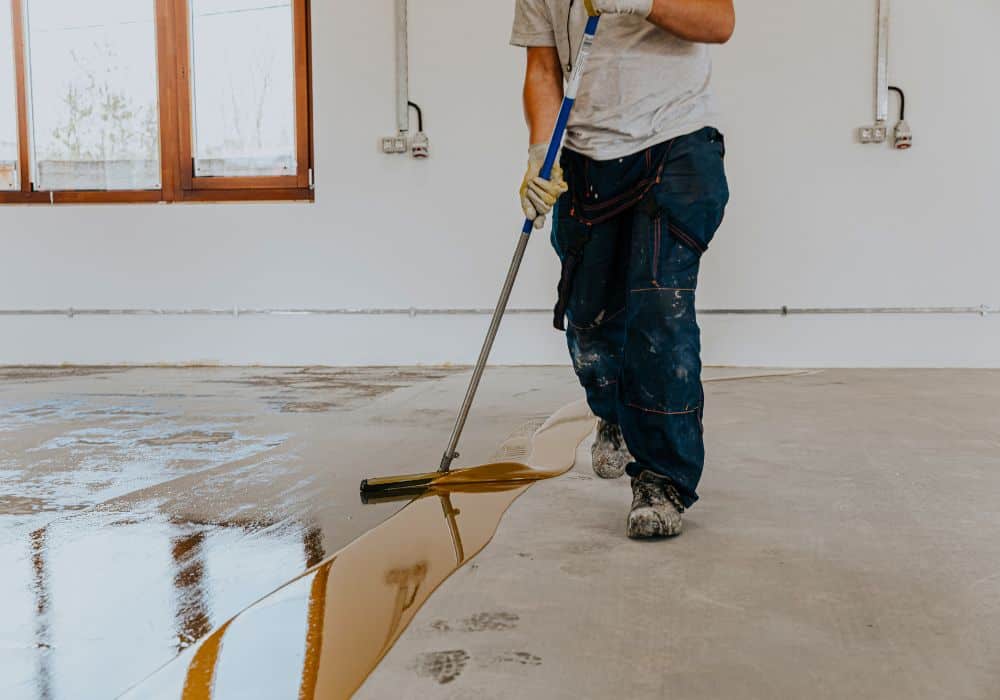
Urethane primers can be used in a variety of applications, including metal and wood. Drying time varies depending on the application method and temperature. Generally speaking, urethane primers will dry within 24 hours at 70°F and can be used after 30 minutes of applying.
Urethane primers will also adhere to most surfaces, including metal, plastic, and wood. This makes them an ideal choice for use with a wide range of projects such as furniture refinishing, auto body work, and staining cabinets and floors.
4. Shellac primer
Shellac primer is an organic solvent and one that dries very fast. You can paint after 1 hour if you want, but we suggest letting it sit for at least 2 or 3 hours or overnight to be sure it’s completely dry before painting.
It’s best to sand between coats of shellac primer to smooth out any bumps and make the surface ready for paint. Shellac Primer can be applied directly to drywall, plaster, concrete block, metal, or wood surfaces. It is also an excellent primer for use on previously painted surfaces such as latex or oil-based paints.
How many coats of primer do you need?
When it comes to applying primer, always follow the manufacturer’s recommendations.
If you’re painting woodwork in a room, a single coat of paint may be sufficient to cover any blemishes or flaws. However, if you’re priming a wall before painting it, it’s best to apply at least two coats of primer for better coverage.
If you’re coating plastic or metal surfaces with primer, it’s best to apply three coats of primer before applying the top coat.
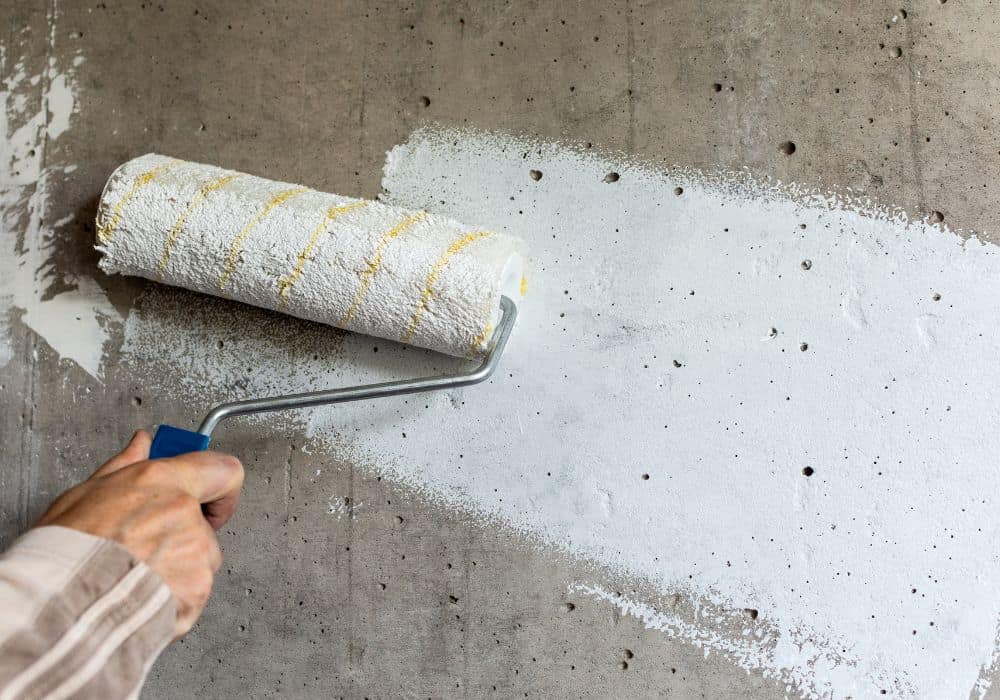
When priming bare concrete blocks before painting them, it’s best to use five or six layers of primer to ensure complete coverage of the primed surface.
How to make primer dry faster?
You can’t paint over tacky primer, so sometimes you might want to speed up the primer’s dry time. The drying time of an oil-based primer depends on the temperature, ventilation, and humidity level of the painted surface.
High humidity won’t help you, so you might want to find ways to bring it down, like a fan or a dehumidifier. But be careful about low humidity, as the primer might dry too fast and wonțt have time to bond with the wall. This might cause future peel of the paint.
One way to make the primer dry faster is to use a spray gun. Spray guns dry the paint more quickly than brushes or rollers. This is because they use so much air pressure to atomize the color that it evaporates quickly.
Make sure that your wall has no debris on it through sanding. Another way to make the primer dry faster is to use thinner coats of primer rather than a thick one. A thin coat dries faster than a thick coat because there’s less solvent (oil) in it, which means less time for evaporation.
Conclusion
As you can see, there’s really no correct answer when it comes down to time. Many different factors, such as humidity and temperature, can affect the drying time of a primer or paint, and neither one is an exact science.
We hope this primer paint guide has given you enough information to help when you need to busy yourself with the wait between priming and painting. With the right timing, your project will move smoothly through completion.
And if there are any questions on your mind, please feel free to send them to us through a comment!