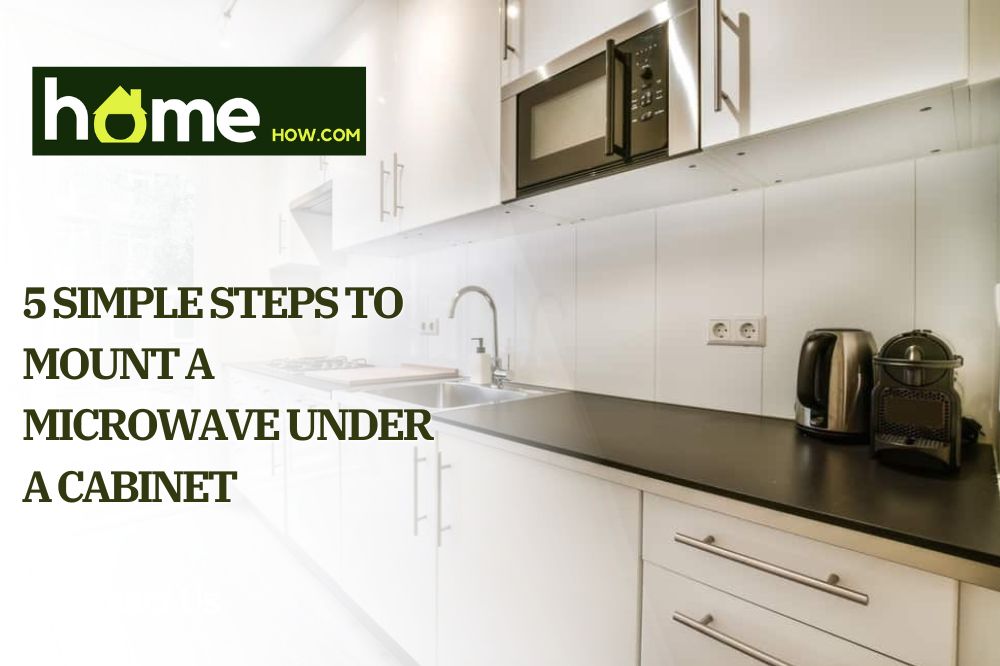
Have you recently bought a microwave that you want to install under the cabinet? Do not worry; we have got you covered!
When it comes to the kitchen, everyone wants to maximize space and try to keep it as tidy as possible, and mounting a microwave under the cabinet is an excellent way of achieving that.
Especially if you have a smaller kitchen and lack counter space for a microwave, mounting it underneath a cabinet will allow you to have and use it without ‘overcrowding’ your kitchen and also make it within reach of your hand.
What Tools Do I Need to Mount a Microwave Under a Cabinet?
Here is the list of the tools you need to install a microwave oven beside the microwave!
- Microwave mounting kit
- Powered drill
- Screws
- Stud finder
- Template
- Mounting brackets
- Tape measure
Step-by-Step Guide: How To Mount A Microwave Under a Cabinet
Before starting your ‘mounting a microwave under a cabinet project, check out the back of your microwave because some microwaves have an area (usually 1-2 inches) that sticks out through the back, so make sure to take that into consideration when measuring.
Step 1: Choose the Location for Your Microwave
The first step is to find where to install your microwave oven, which includes measuring the cabinet and the microwave. It would be best if you were sure that it fits before your drill any holes.
The good thing is that microwaves come in many sizes, so you can choose the one which perfectly fits your cabinet. The standard microwave dimensions are around 24” to 30″ wide, 17″ high, and 15″ to 18″ deep.
The standard interior capacity of microwaves ranges from 1.0 to 2.2 cubic feet, and the most commonly used are between 1.2 to 1.6 cubic feet.
Also, check your microwave for the mounting holes, which you can mount from the inside down, through the cabinet, and into the top of the microwave itself.
It is also implied that you have a grounded power outlet nearby, and while deciding the location for your microwave, consider how the cord will reach the outlet.
So, you will probably need to drill a bigger hole for the cord at the bottom of the cabinet if you do not want it hanging or sticking out.
Step 2: Use the Template and Find the Studs
So after you have chosen the right size of a microwave and the ideal place for it, you will need a template at the bottom side of the cupboard above the unit.
Templates are highly useful when mounting a microwave under a cabinet or on a shelf because they can help you mark the holes. Most microwaves come with plenty of templates for different models, depending on what you have, and they include a wall template.
If you are not sure which template to use, measure your microwave and find a template of the same size. The right template has already marked places for holes that line up with the mounting holes at the top of your microwave.
Put the template inside the cabinet and lay it out the according to how you will install the over-the-range microwave underneath the bottom. It is vital that you place the template at the center of the cabinet so it is even on both sides.
Step 3: Measure and Drill
In order to avoid making unnecessary holes in your cabinet, measure the distance from the center bolt to the back of the cabinet so you know where exactly to mount it. Then, following the template instructions, you will drill the holes in places circled on the template.
We advise you to take a quarter-inch drill, but employing a smaller one will also be helpful if you have it. Sometimes when you try to drill with the quarter-inch drill, it tends to walk around, leaving a mess, so you can use the smaller drill to drill a small pilot hole.
After the pilot holes, you can drill through with your powered drill and remove the template.
Step 4: Lay the Mounting Brackets
After you finish drilling, place the mounting bracket on both sides and drill using your screws on both sides, which will go through into the cabinet down below.
Down underneath the bottom of the cabinet is where the bolts will stick out – you will attach them to the microwave holes on top of it.
Another option for mounting a microwave is to attach it to the wall underneath the cabinet for extra stability and support using a more extended mounting bracket. First, you will need to use the stud finder to find the studs in the wall, which you will later drill.
Use a pen or marker to mark the places for studs. Then, you will attach a piece of plie wood to the wall and place it, using 4-inch screws, and then attach the bracket underneath the wood.
After carefully measuring and checking out your holes for studs, put the screws into the bracket to secure its hold.
Step 5: Put The Microwave In Place and Secure It
After putting the microwave in place, cord the four screws into the mounting brackets using a screwer; it is crucial that you attach all four of the screws before you start tightening anything. Why?
If you end up with a loose screw, it will be harder to fix it if all screws have already been tightened up. So then, in a circular motion, slowly turn it up, tightening each screw a bit more, a couple of turns on each one.
Basically, you will continue screwing the screws until the microwave touches up those brackets you put at the top of the cabinet.
A reminder, if you have forgotten, think about the plug and the outlet because if you are plugging the microwave’s power cord behind the microwave, it is crucial that, at this point, you have done. You would likely have to take it down and start again if you did not.
Extended Tips
- All microwaves, including countertop microwaves, have a built-in recirculating venting system. Generally, microwave ovens do not need to vent outdoors.
- However, when installing it under a cabinet, you need to consider possible vents for carrying the odors, moisture, and grease from the usual cooking.
- Regarding maintenance, it is vital that you clean the oven after every use, if possible. The smells and odors from the food being heated can permeate the microwave and are very hard to eliminate.
- Here is some good advice for cleaning your microwave: take a ceramic pot, add water with a few slices of lemon or vinegar, and place it in the microwave for a minute or two on high heat. Then use a paper towel to clean the caked-on food gunk inside the microwave.
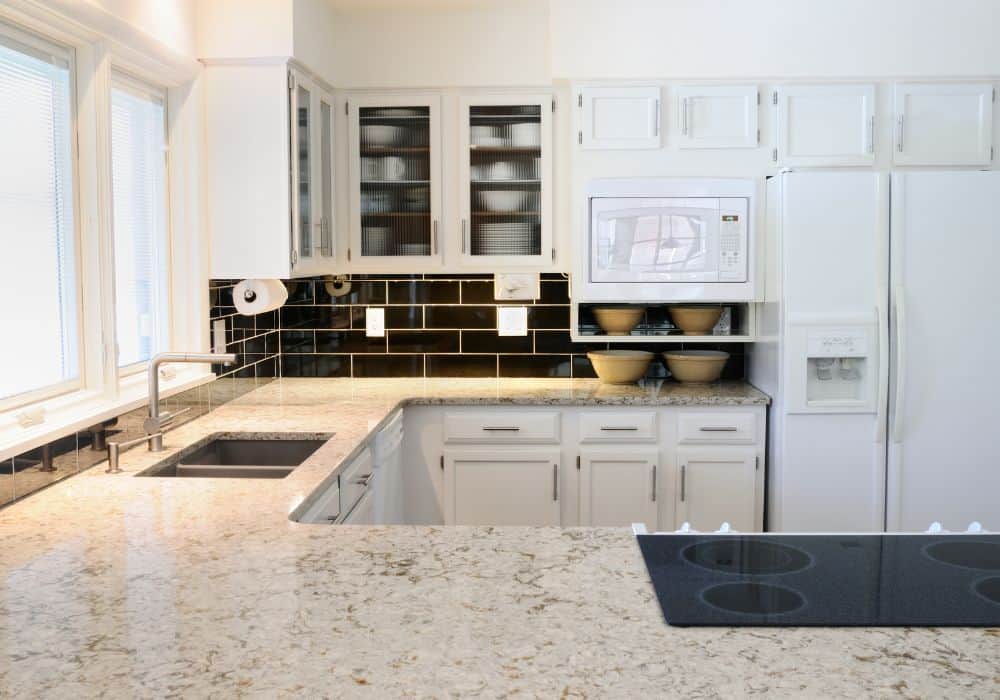
- If mounting a microwave under the cabinet sounds like too much of a hassle, you can place it inside the cabinet, given there is enough space. Although with this option, you will not be able to use that cabinet for dishes, snacks, and utensils.
- Over-the-microwaves are easier to clean than regular countertop microwaves because you do not have to clean underneath them.
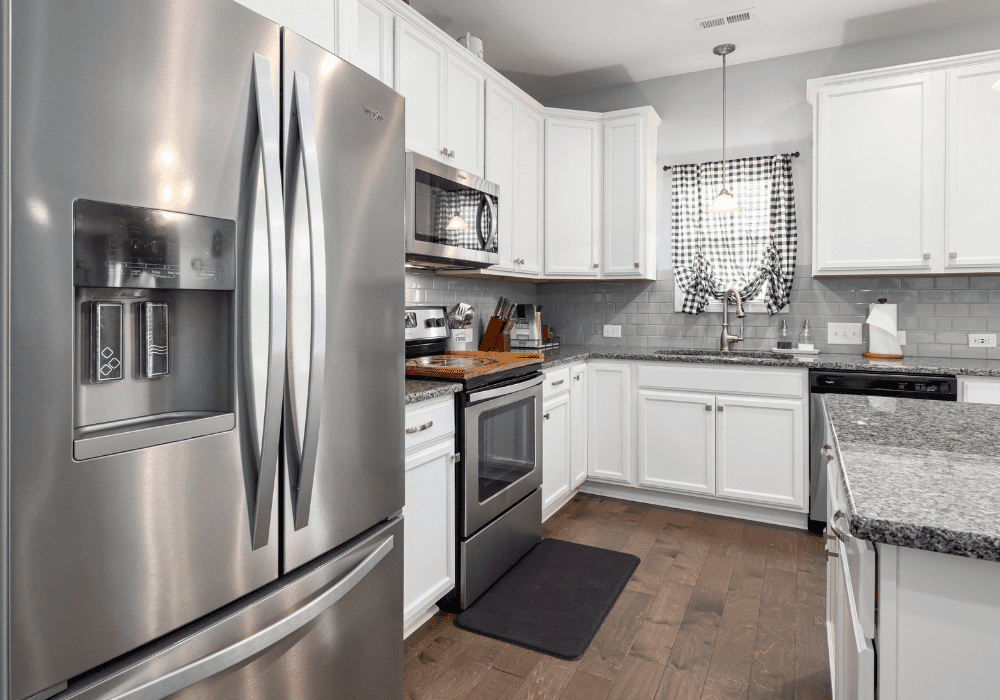
- If you are wondering whether your microwave can be installed underneath the cabinet, the good news is that almost every microwave can be mounted. Still, it is vital that your microwave is adequately ventilated. Therefore you will have to ensure enough airflow around your microwave.
- In addition, consider that ventilation placement in countertop microwaves can be different than those of built-in microwaves. Some have the vents placed on the sides, or the top, while over-the-rang microwaves usually have the vents at the back.
- We suggest you get a surge protector to avoid having your microwave’s circuit board wrecked. You never know when the next storm or accident, such as a fire, might happen, so it is better to be prepared.
Conclusion
Installing a microwave oven is an excellent idea if you are looking for convenience and style. Even though the regular countertop microwave is a decent choice, an over-the-range microwave will give your kitchen a modern look and possibly increase its value.
Furthermore, it is highly convenient because you will have empty counter space for some other appliances and kitchen utensils. This project is not that hard if you have the right tools, the right attitude, and a little bit of patience.
Not only that you will have an over-the-range microwave, but you will also have the rare possibility to take the credit and praise for the installation. However, you can always call a contractor if you do not feel confident enough.
Also, if you make a mistake in the mid-process that you cannot fix, that is your clue to call a professional.
Have you ever tried to mount a microwave yourself? Please, share your experience with us! Finally, if you have any questions or comments, feel free to share them with us!