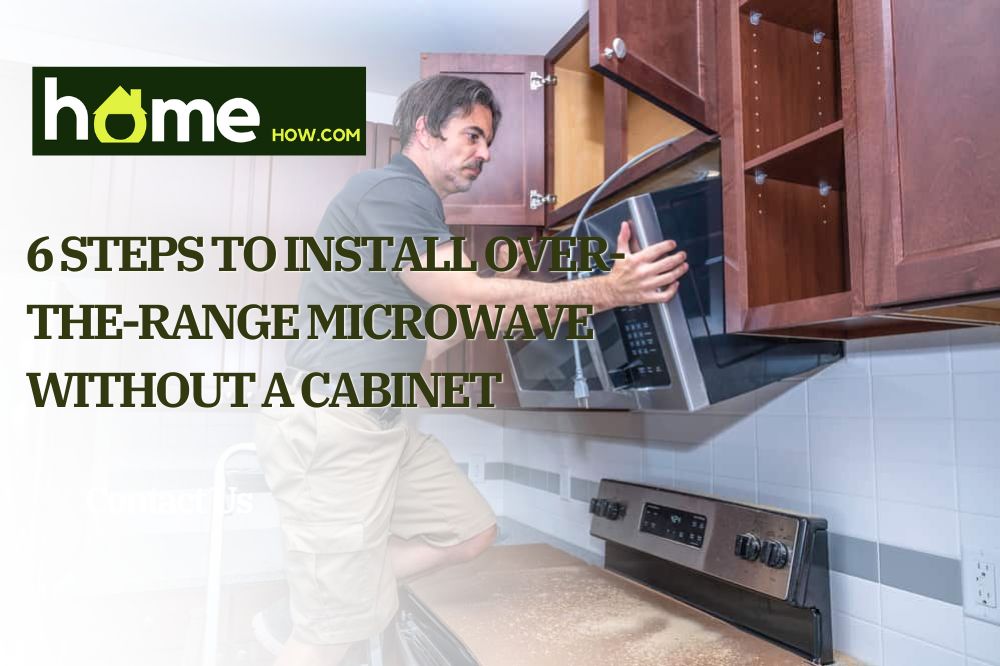
Are you renovating a kitchen or replacing some old appliances? While it might seem daunting, our guide is here to help teach you how to install an over-the-range microwave without a cabinet.
Doing home-improvement projects on your own isn’t easy, but with a little guidance and some time, you’re sure to install your new microwave and be proud of your work.
Let’s get started!
Tools
- Pencil
- Tape measure
- Paint-friendly tape
- Drill and drill bits to match the screws and bolts provided
- Level
- Screwdriver
- Microwave unit
- A new kit should also include mounting templates, screws, fasteners, bolts, and/or a mounting bracket
- A friend or colleague to help with heavy lifting
- Optional:
- Stud finder
- Cardboard to cover your countertop
Step-by-Step Guide
In 6 steps, you’ll have your new microwave up and running.
1. Unpack Your Unit
Before unpacking, you may want to lay cardboard or another material to avoid scratching or nicking your counter space.
Next, unpack your new unit. Most manufacturers will include a microwave, screws, bolts, a wall mounting bracket, and some templates to help you mark the drill holes.
The bracket may be a long, metal rectangle, take up the entire back of your microwave, or look like a pair of stainless-steel arms that can hold your microwave from underneath.
Templates may be drawn on the inside of the unit’s box or provided on paper, and there is typically one “upper-cabinet” template and one “back” template.
Pro Tip: If the microwave is venting out, you’re going to have to remove the cover on the blower assembly, which is on the top of the microwave. You’ll need to change the blower so that it blows the air out of the wall instead of back into the kitchen. In this case, you should have had ductwork installed before installing your microwave.
2. Set Up the Area
You’ll need to set up the area where your microwave will go. Over-the-range microwaves should be at least 30 inches over your stovetop and close enough to an electrical outlet to be plugged in. Measure the space and your microwave, noting the center of the space where your microwave will be placed.
Next, stick the back template onto the back wall of your kitchen with paint-friendly tape. Use your pencil to outline the bottom of the template onto your wall and drill any bolt holes on the template. Remove the template once you’re done.
3. Locate the Studs
Locate the studs on the wall where your microwave will be mounted. Studs are the wooden boards that frame a home when it’s built, and they are usually spaced every 16 or 24 inches along a wall.
Studs serve as the best anchors for any screws or nails used to hang heavy objects, as the wall could not support the weight of something like your over-the-range microwave on its own.
The easiest way to locate the studs is by using a stud finder from your local hardware store. Otherwise, you can also locate the nearest light switch or outlet, as these are always attached to the end of a stud. Once you figure out which side of the switch the stud is on, you can measure 16 or 24 inches from there to find the next stud. Lightly pounding your fist against the wall will echo differently if the wall is hollow or covering a stud.
The video below shows a few different techniques you can use to locate the wall studs in your kitchen wall.
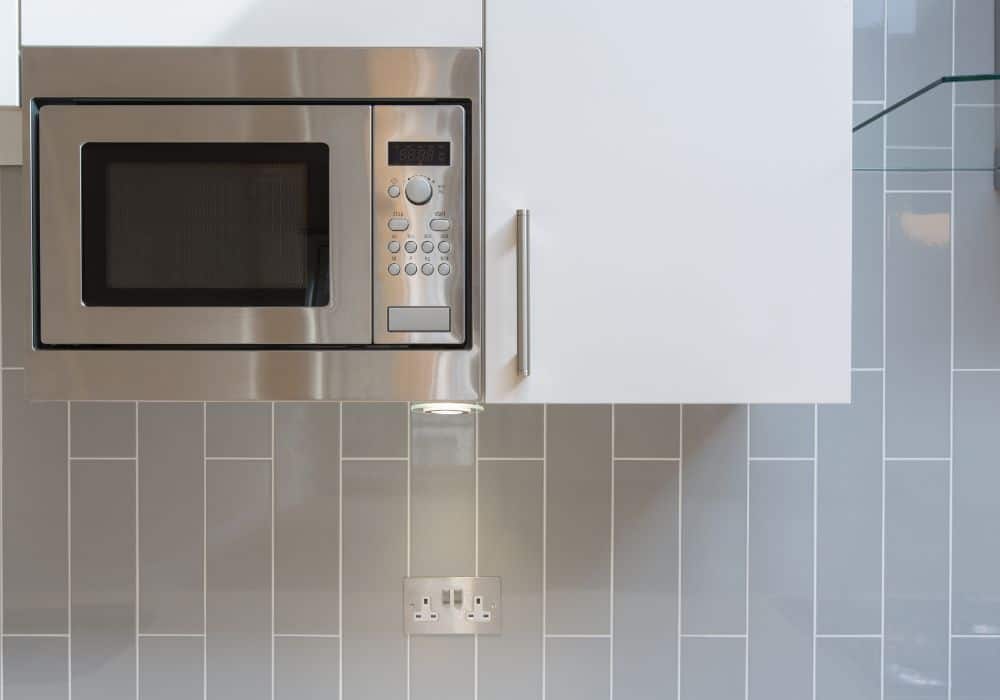
4. Optional: Add a Shelf Above the Microwave
While it may be small, the average microwave weighs roughly 55 pounds. The mounting bracket may benefit from additional support to make sure your microwave is sturdy and in place for years to come.
Consider adding a shelf, also called a “false cabinet,” to the top of where your microwave will go. You’ll need to measure out the space and microwave for accurate placement and make sure the shelf is secure enough to withstand the weight of your microwave.
If you have a shelf above the area and an “upper-cabinet” template, stick the template to the bottom side of this shelf with paint-friendly tape. You may need to cut the template to match the width of the area. Mark the holes or create pilot holes as indicated by the template and remove the template once you’re done.
Pro Tip: If your backsplash or tile wall covers the back area of your microwave, you won’t be able to drill your mount into the wall. In this case, a shelf or upper cabinet is likely necessary.
5. Prepare Your Mounting Bracket
Note any holes or marks you made based on the back template. You should have also marked the bottom of the template during step #2; this line should match up with the base of your bracket(s), which will be at the bottom of the microwave. Place your bracket against this line.
Your mounting bracket may have many screw holes available, but you don’t need to use all of them. At least two holes should overlap with some pencil marks you made through the template.
Outline additional holes with your pencil through the bracket, focusing on the holes that cover the studs.
If your microwave came with butterfly anchors AKA toggle bolts, you can use one or two of these to support the center of your microwave. Holding the bracket against the same baseline as before, mark one of the holes towards the center with your pencil on the wall. Drill the hole according to the size designated on the manufacturer’s instructions.
Put the toggle bolt through the bracket in one of the holes in the middle and thread the butterfly loosely onto the bolt by hand. Fold the butterfly and push it inside the hole you drilled in the wall. Once the folded butterfly passes the drywall, it will open back up and serve as a strong anchor for your bracket.
Use your drill to tighten the bolt, connecting your bracket to the wall. Drill in the two screws that align with the pencil marks you made earlier. The bracket should not have at least one bolt and two screws securing it to the wall.
Add in additional screws to other marks you have made – particularly lag screws – to make sure your bracket is securely attached to the wall and can withstand the weight of the appliance.
Pro Tip: Your purchase may come with additional brackets for the top side of the microwave, especially if you don’t have a shelf overhead. Fasten these to the walls in a similar fashion and follow any markings on the template provided.
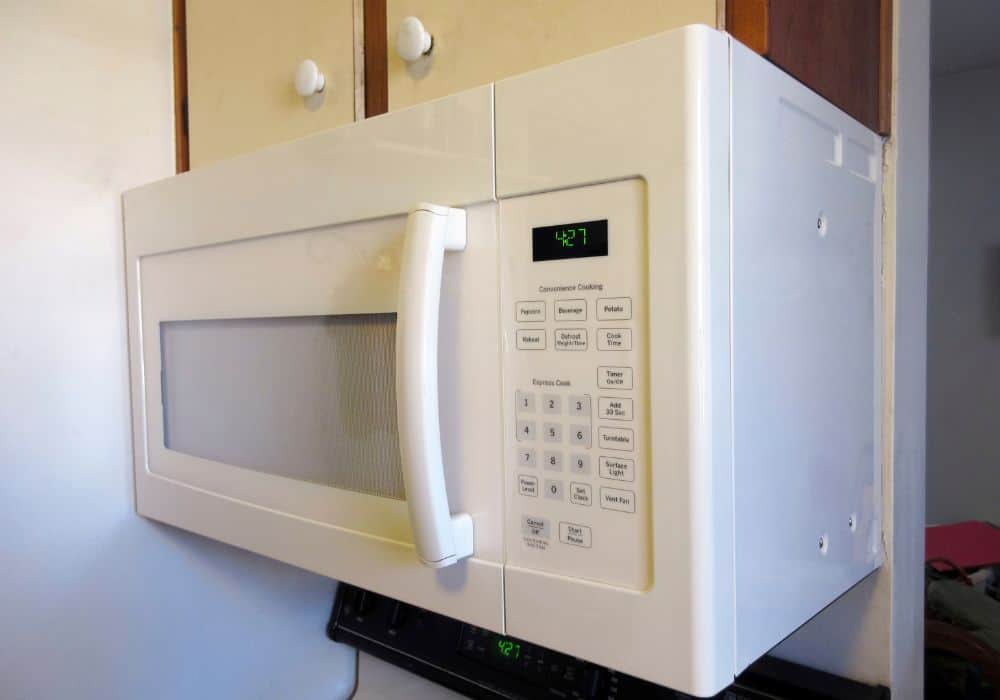
6. Mount Your Microwave
Your mounting bracket should have a few hooks on the bottom that will be used to clip to and support your microwave.
Lift your microwave with your helper and slide it, tilted upwards, onto the back hooks of the bracket. This should take some of the weight off of your hands.
Before sliding the back of the microwave against the wall, maneuver the electrical cord and plug so that they are positioned where needed to reach an outlet.
Slowly tilt the new microwave downward until it fits in the designated area. If you have an upper shelf, you’ll need to put the bolts through the drilled holes and then drill them in securely. These bolts should fit into premanufactured holes on the top of the microwave.
Extended Tips
Make sure you do as good a job as any by using some of these extended trips.
- If a part of our guide doesn’t align with the installation instructions that came with your microwave, always go by the manufacturer’s directions first.
- For those removing an existing microwave first, check out the video below. Be sure to properly dispose of your old microwave.
- Keep your old hardware in case it comes in handy for your new microwave.
- Double-check all of your measurements before drilling any holes. It’s much easier to remove a few pencil marks from your wall than it is to remount a bracket.
- Having a second person present is important to not only help lift your microwave but to have a second set of eyes to make sure everything looks right. If you find yourself in a rut, always consult a professional before making any guesswork.
- When screwing in your bracket or anything to your wall, don’t over-drill. Aim to drill the screw about an inch into the drywall to avoid hitting any electrical wiring behind the wall.
- Use your screwdriver to tighten your screws and bolts by hand after drilling them in. This makes sure you’ve tested each one and will keep them snug without overtightening.
Conclusion
Completing a range microwave installation requires attention to detail, but anyone with time and focus can do it. Be sure to:
- Properly unpack your kit and note all components
- Set up the area by measuring and marking accordingly
- Locate the studs within your walls
- Consider adding a shelf above the microwave
- Prepare your mounting bracket
If you’re left with any doubts, let us know in the comments. Otherwise, let’s get to work!