Although you might not realize it, a shower curb is one of the most important parts of your bathroom. Without it, your shower would overflow, causing massive flood damage, rotting your floor and subfloor, and potentially a massive accident.
You must get it right when you set down your shower curb for these reasons. Especially if you’re going to lay down the curbing yourself – you want to ensure that you leave no gaps for splashes of water to escape.
So how exactly do you install shower curbing? What steps should you follow to complete the job, right? And most importantly, just how high should it be?
This article will explain how to pick the best shower curb height. We’ll also share our expert tips on laying down your shower curb, ensuring it will last the test of time!
Firstly, what exactly is a shower curb?
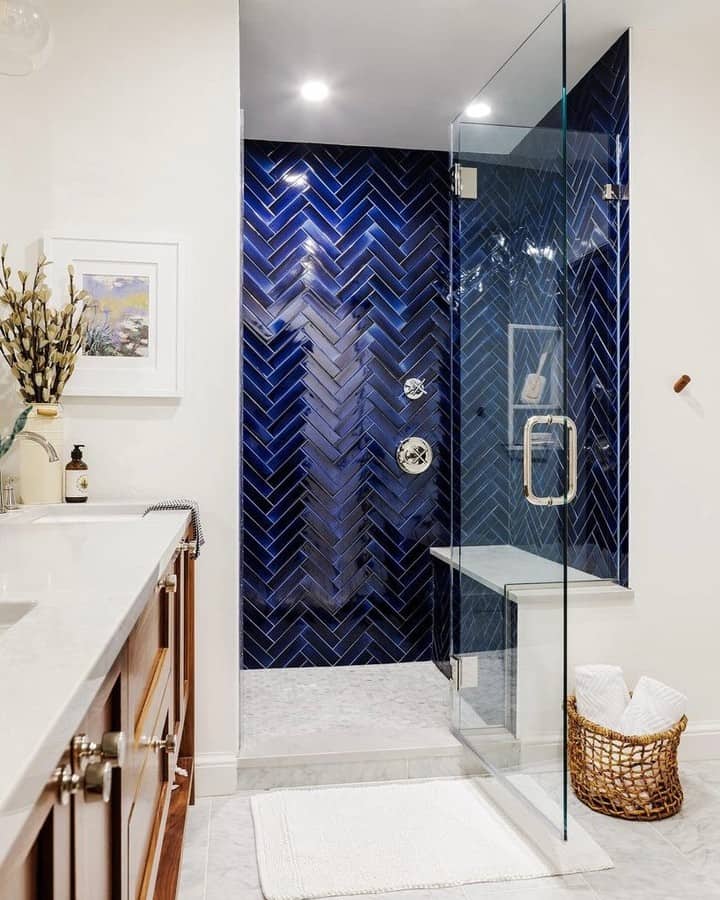
Simply put, a shower curb borders the shower pan and bathroom floor. Sometimes called a shower threshold or dam, they can be made from various materials, including cement, wood, rubber, pre-formed polystyrene, and high-density plastic.
The shower curb is essential to your bathroom, as it prevents water damage to your bathroom floor and corroding or rotting your subfloors underneath.
In some designs, the shower curb also doubles as a mounting bracket for the shower door, ensuring the entire shower area can be enclosed.
Building regulations: the minimum and maximum height
First, you must remember that the shower curb should meet the bare minimum and maximum requirements per local building regulations. If in doubt, consult a local inspector.
The international residential codes state:
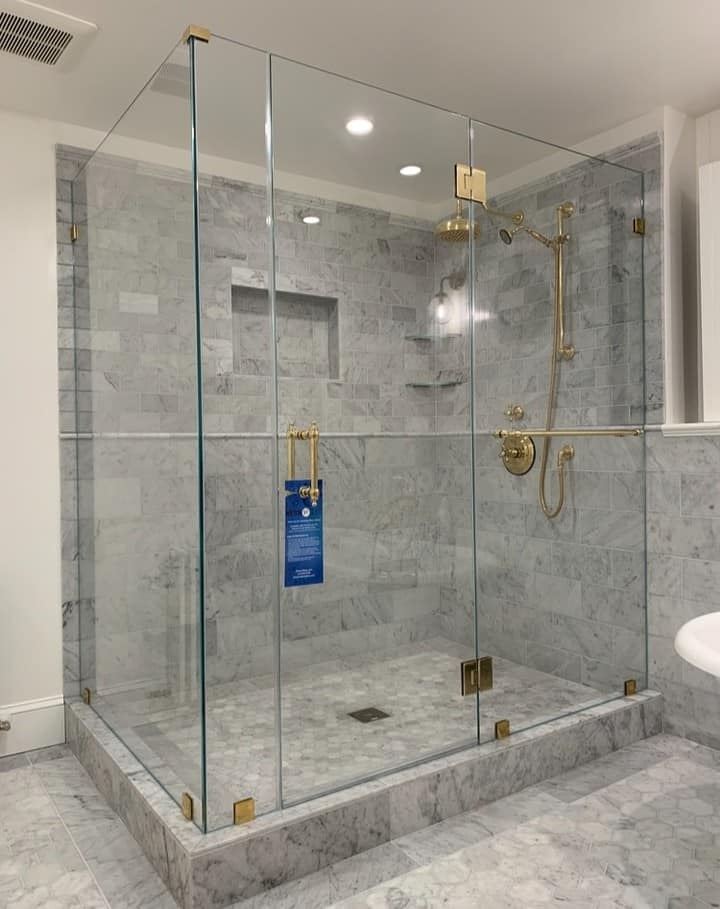
- The minimum curb height should be no less than 1 inch (25 mm) below the sides and back of the shower base and no less than 2 inches (51 mm from the drain.
- The maximum curb height should not exceed 9 inches (229 mm)
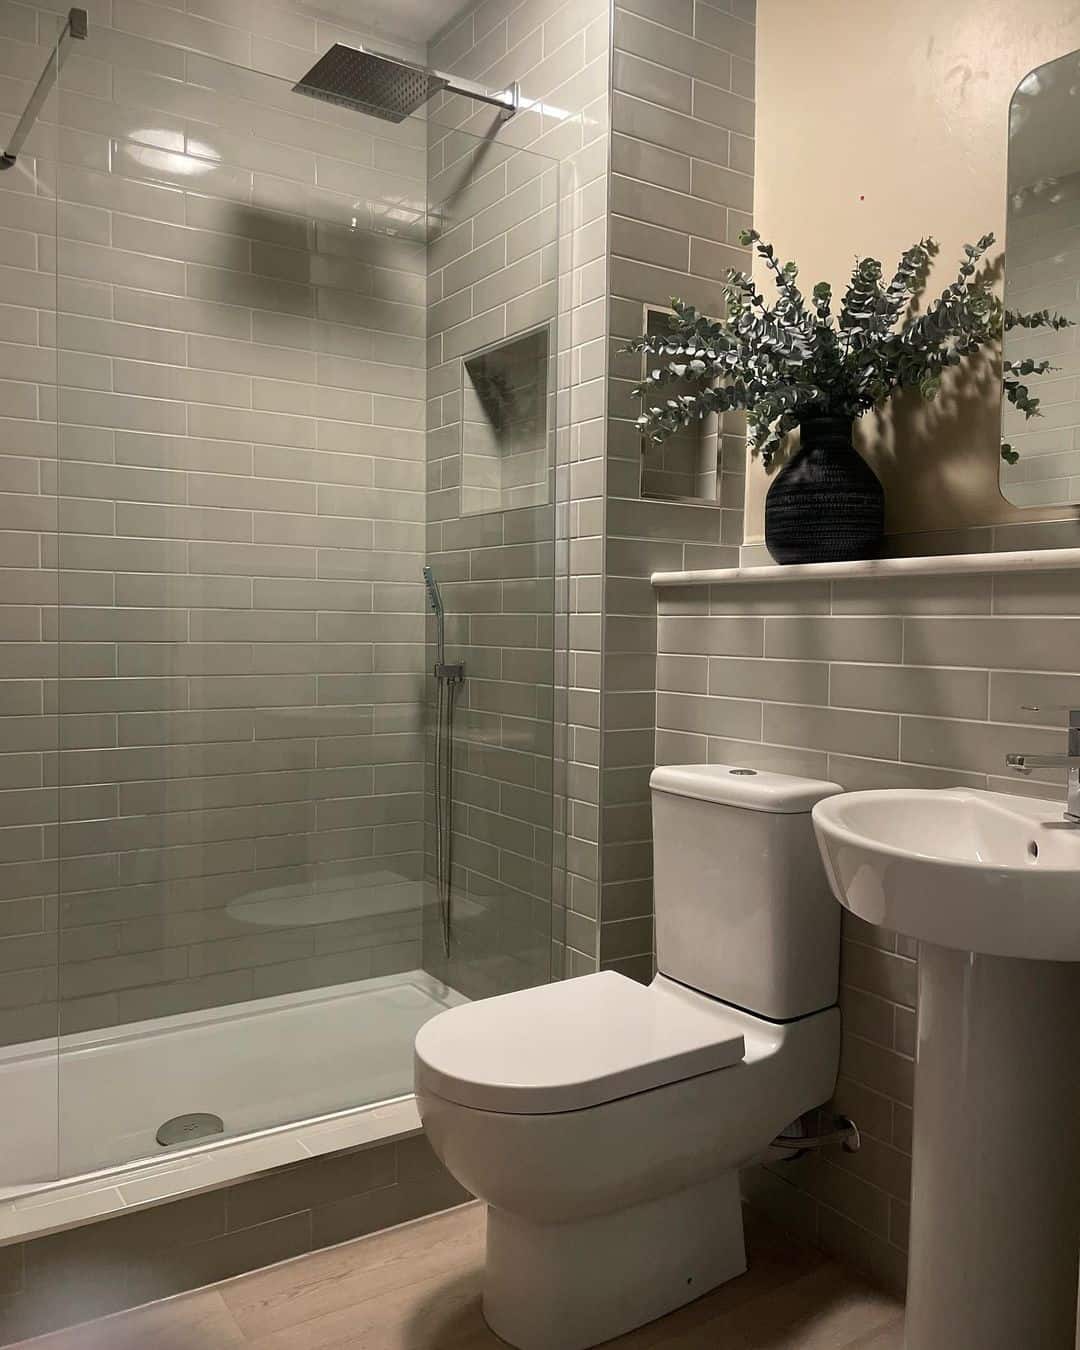
These basic requirements are essential safety features for your shower curb. After all, too low a curb and the water from your shower will easily spill out and soak your floor.
This can cause extensive damage to your bathroom floor and subfloor and increase the likelihood of slipping. Too high a curb will create a tripping hazard, especially for older people with mobility issues.
The slope of your shower pan is also critical to consider. Pre-manufactured bases should be sloped appropriately and won’t need any adjustments.
But if you’re using a sloped floor, ensure it’s aimed the correct way to push water into the shower drain. A 5-degree angle aimed towards the drain is ideal.
Building and setting your shower curb
Whether installing a brand-new curbing or replacing one, it’s now very easy and straightforward to lay down the foundations of your shower by yourself. No need to hire an expensive plumber or a tiler for the job!
One of the most significant factors in succeeding is getting your measurements correct. After that, it’s all about following a tried-and-tested method:
Equipment needed:
- Measuring tape
- 2×4 wooden planks or concrete blocks,
- Adhesive silicone,
- Trowel,
- Water-resistant liner
1. Measurements
Determine the perimeter of your shower base and buy your raw material accordingly. The most recommended material size is to buy 2×4 wooden planks, which you can stack to build your curb height to your desired height. You can also use concrete blocks, but only if the flooring underneath is concrete too.
Some people also use different materials like rubber, silicone, and high-density plastic. Ask your local hardware store for recommendations based on your bathroom flooring material.
2. Screwing into place
Align your 2x4s and check that they allow the shower door to open and close. Screw them into position. You must use non-corrosive screws that won’t warp or deteriorate when exposed to water.
3. Lay your liner
Next, lay a waterproof liner; this protects your curb’s foundations from water. Your liner should run several inches high to ensure there’s a watertight seal In place. Excess material can be cut off or hidden behind your bathroom wall panels.
4. Seal the shower drain
An often overlooked step is ensuring there’s a seal around the drain of your shower. Once the liner is set, cut out a circular shape about where the drain hole is. Unscrew the bolt holes, remove the drain flange, and apply a ring of silicone around it.
Push the liner against the silicone to ensure sufficient contact and adhesion, then reinsert the drain flange.
5. Apply lath to the curb
Metal lath is a lightweight material used for plaster application. It is skinny and won’t add extra height to your curbing measurements.
Simply drape the material over your shower curb, ensuring the sharp lath does not pierce the liner at any stage. If this happens, you may need to replace the liner in question. If the strip keeps slipping out of place, you can secure it with nails or fasteners.
6. Apply mortar to the curb
Finally, apply a generous layer of mortar, about an inch thick, around the lath and curb. Mortar is a mixture of cement, sand, and lime, which helps prevent moisture buildup, reduces dampness and stabilizes nearby materials. This makes it the perfect material for a wet environment, like a shower.
Apply an additional layer of mortar, about ½ inch thick, to the outside of the curb. Remember to apply slight pressure with your flat trowel and ensure it stays in place to create suction. Allow outside and inside mudding to dry and harden. After about an hour, you can then begin to tile your shower.
Expert Tips
- When installing, try to place as few screws as possible. Screws can pierce the waterproof membrane of your curb, allowing water to damage, rust, and rot the material.
- Remember to apply a moisture barrier to your curb, e.g., a waterproof pan liner. This ensures water will not seep through gaps into the subfloor.
- Some liners can be pretty stiff and difficult to manipulate – try heating them to increase their flexibility.
- Remember to check building codes to ensure your shower curb matches with regulations. This is especially applicable if living in a residential area, like an apartment, must adhere to safety guidelines.
- When creating your shower curb, avoid using pressure treated lumbers. These will swell, rot, and warp at some point, even if tiles surround them.
- Higher shower curbs are not well suited for people with mobility issues, as there’s an increased chance of slipping and tripping over the shower entrance.
- Too low a shower curb and the water may spill out, especially if the top of the drain becomes clogged. This can create an enormous slip hazard around the shower area.
- Regularly cleaning your shower curb will ensure it lasts indefinitely. Use a chemical solution to free mold, dirt, and grime from surfaces.
- If using your bathroom floor as the shower floor, ensure there’s at least a 5-degree slope gradually reaching the drain. Otherwise, the curb will have more water to contain and may fail.
- Once the curbing is laid, you can then think about design features. Many people match the curbing to wall and floor tiles or paint them a specific color to add a signature design to the shower.
- Ensure the drain of your shower is always left unobstructed. Keep washcloths, shower bottles, scrubs, and mats away from the drain.
- If in doubt about the requirements of your shower curb, consult with a local building inspector.
Conclusion
The shower curb is an integral part of planning your bathroom. Not only does it protect your flooring, tiles, subfloor, and more, but it also adds a signature look to your entire shower.
When working out its height, it’s vital to plan carefully. Too low a curb and you risk water overflowing from your shower. Too high, and you’ve created a tripping hazard for you and your family.
As our article has shown, there’s an easy way to lay down shower curbing relevant to your needs. You can create the ideal curbing framework using 2×4 wooden planks or concrete blocks.
If you still have questions about your shower curb height and are curious about other ways to protect your bathroom and shower stall, please comment below.
Remember:
- As per regulations, shower curbs must be a minimum of 2 inches and a maximum of 9 inches.
- When laying down your liner around the curb, don’t forget to seal the drain hole too. Otherwise, water can seep between curbing and cause damage.
- A manufactured shower curb can be a quick, easy, and stress-free way to install a shower quickly. They come in various sizes, heights, and styles to suit many needs.