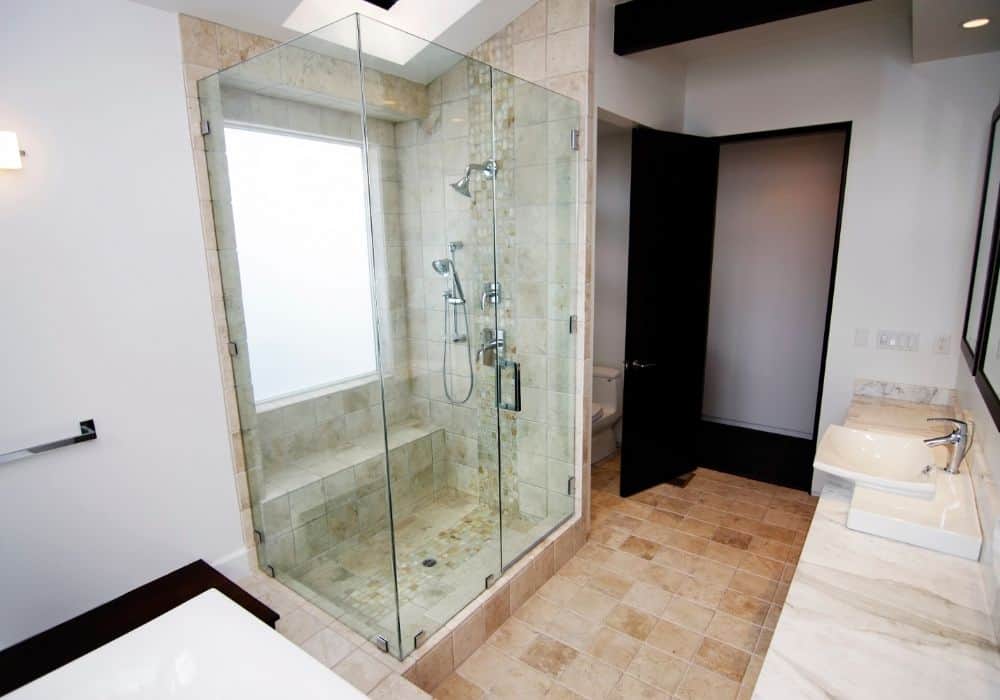
If you are renovating your bathroom, a part that is often of the least concern is the shower pan. Constantly supporting a human’s weight plus water, they can break apart, which means that they’re due for a change. When changing them, you might want to consider checking what mortar to use for your shower pan.
To avoid damaging your subfloor (and eventually the rest of your bathroom), you need to properly consider the right mortar for your shower pan. In this article, we’ll go through the different types of mortar and how they would go with your pan.
Mortar? Shower Pan? Cement?
Before we get to talk about the meat of the stuff, it’s important that we establish certain terms since these terms may be foreign or sound interchangeable to unknowing homeowners.
Cement is the binding element found in both mortar and concrete. Also called Portland cement, it is never used alone, and is instead mixed with other materials to suit the requirements of the project. Depending on what you mix, you get either mortar or concrete.
Concrete is a mix of Portland cement, sand, gravel, and other aggregates. This mixture, once activated by water, dries and cures into a very solid material reliably used for many building projects. Concrete is often the go-to for structural projects such as setting posts.
Many hardware stores sell ready-mix concrete where you only need to add water, but you can also try to make concrete yourself by buying the ingredients separately and mixing them yourself.
On the other hand, mortar is a mix of cement, fine sand, and hydrated lime. This certain combination does not yield the same strong material once dried. However, mortar is highly moldable, and is often used as a glue for other masonry products such as bricks.
Similar to concrete, you can buy ready-mix mortar, where you simply need to add water. You can also buy the ingredients and mix them yourself, which actually gives you the freedom to make certain types of mortar depending on what you need (compressive strength or adhesive capabilities).
Which to Use for Shower Pans
Despite being stronger, a concrete mix is actually not preferred when setting your shower pan down. Instead, mortar takes the win because of one specific advantage: water resistance. Mortar can retain water very well, which helps create a water-resistant barrier to protect the subfloor.
Additionally, shower pans only need to be “glued” down to the floor. For this use case, mortar and its great tensile strength (its measure of how hard it is to pull apart) are preferred.
Mortar for your Shower Pan

As mentioned above, mortar is made up of Portland cement and sand. If you want to buy a ready-mix material, you simply need to check if it contains cement and sand, and that should be good enough for your shower pan.
There are a lot of commercial mortar mixes that are recommended by many people for use with shower pans. Two of these mixes are from Quikrete.
1. Quikrete Floor Mud
Quikrete Floor Mud is a great first choice for mortar because once it is mixed with water, it creates a smooth and water-resistant which is ideal for shower pan applications. That is also, quite literally, part of the description of the mix itself.
The Floor Mud mix is perfect because you don’t need to calculate parts to get the right consistency. It always comes in an 80-pound bag, with which you only need to add 4 quarts of water to get the mortar that you’ll need for your shower pan.
The Quikrete mix also ends up being quite a strong base for your shower pan, too: once fully cured after 28 days, the mortar bed will boast an impressive 5000 PSI, which is more than enough to hold your shower pan and you at once.
Since it is mortar, you can also easily mold it to the shape that you want it to. This is very important because you need to satisfy certain requirements for a mortar bed for your shower pan. Quikrete recommends that you slope the mortar at ¼ inch per foot toward the drain, so the Floor Mud’s moldability will help you get the right slope without hardening right away.
The only downside to Quikrete Floor Mud is that since it is only available in 80-lb bags, you’re unlikely to find them at every construction supply store. Some stores do sell 60-lb variants if the 80-lb bag is too much for your case.
2. Quikrete Sand/Topping Mix
Another Quikrete product, the Sand/Topping Mix comes out as a good generalist product that can be used as the mortar bed for your shower pan. It sports a similar compressive strength of 5000 PSI after 28 days, thanks to its special mix of cement, commercial-grade sands, and other proprietary components.
People might prefer to get this mix instead of the Flood Mud because this is more widely available: it comes in a variety of bag sizes, from 10 lbs to 80 lbs. Construction outlets are more likely to have a stock of at least the lower-sized Sand/Topping Mix bags.
The Quikrete Sand/Topping Mix has similar requirements for water to get the right consistency: the 80-lb bag also needs 4 quarts of water to get the right consistency. If you got the smaller-sized bags, you simply need to scale down the amount of water. A rough estimate is to use half a quart for every 10 lbs of the mix.
3. Sakrete Sand Mix
Finally a non-Quikrete product, the Sakrete Sand Mix is a popular alternative to the products mentioned above, being more like a general mortar product. It also sports a similar compressive strength of 5000 PSI, just like everything on this list.
Although Sakrete recommends a higher amount of water in their general formulation (0.55 quarts of water per 10 lbs of the mix), they mentioned that you might have to adjust the water to make a dense mortar bed for your shower pan.
The Sakrete Sand Mix is available in 40-lb, 60-lb, and 80-lb bags, making them more widely available.
Make Your Own Mortar Mix

If you’re feeling a bit adventurous and confident with your DIY skills, you can actually make your own mortar mix. We’ve laid out everything you need for one before: Portland cement, sand, and water!
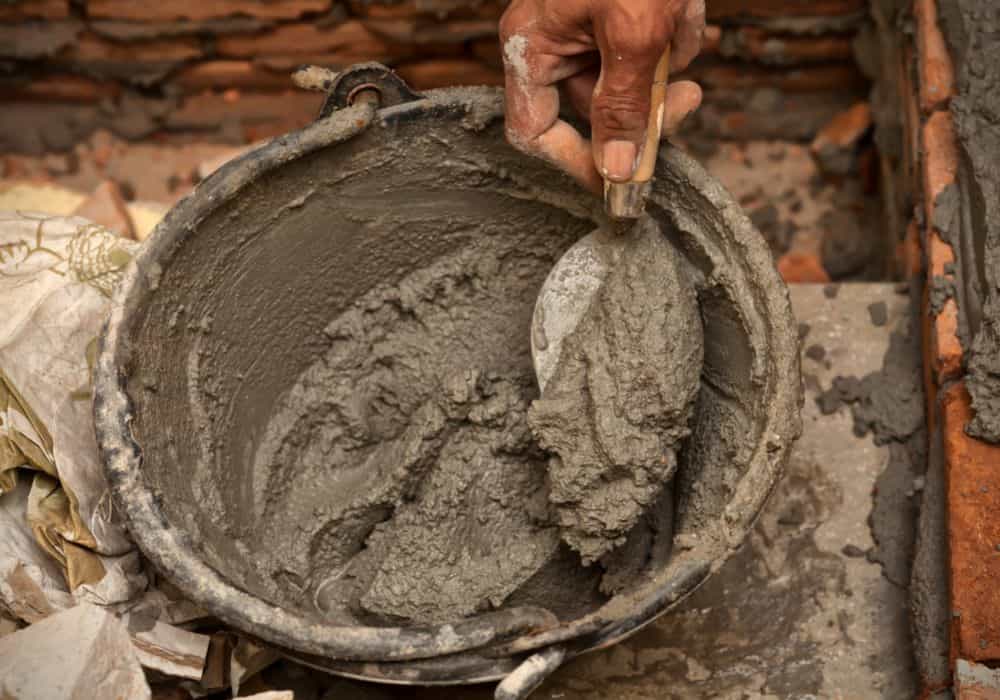
Grab your cement mixer if you have one. If you don’t, a bucket, trowel, and some good hand exercises will do the trick. Mix in the following:
- 1 part cement
- 4-6 parts sand
- Water
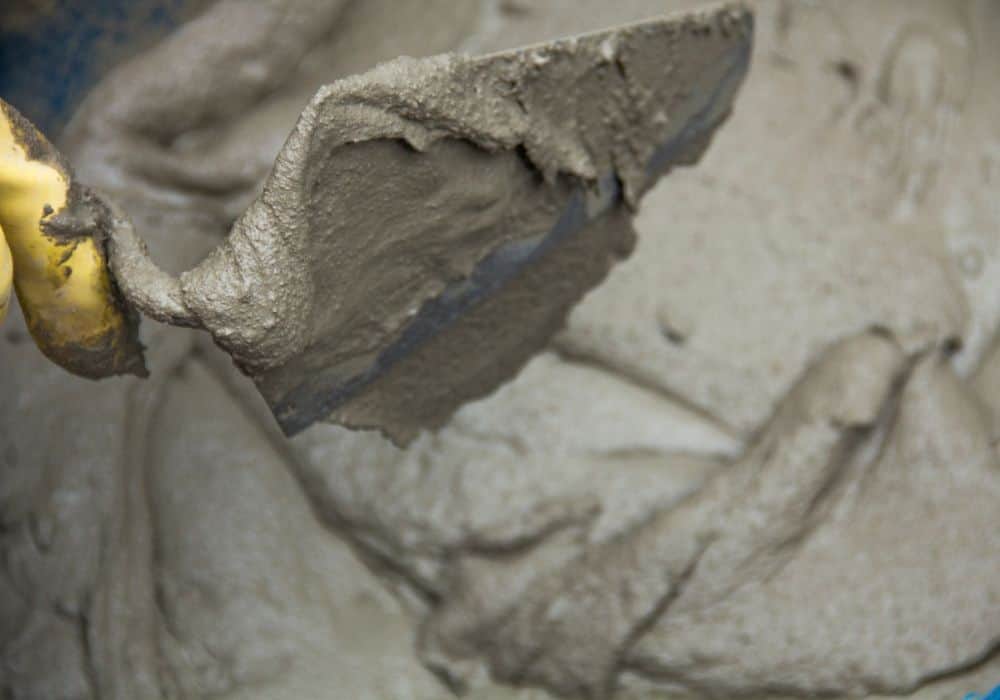
When you are mixing water with the cement-sand mix, you might need to eyeball the amount a bit. A good rule of thumb is to check if you can grab a handful of the mixture, form a ball with it, then squeeze it. If the ball holds its form but releases water when you squeeze it, that means your mortar mix is ready to go.
Although this mix will not beat any of the commercial products’ specifications, this mortar mix is perfectly serviceable for your shower pan.
The Thickness of the Mortar Bed
Now that you have your mortar ready, you might want to know how thick the mortar should be for your shower pan. The amount largely depends on the type of shower pan that you are trying to install.
There are manufactured shower pans that should include the required mortar to be placed under them. This will usually vary depending on the material of the shower pan. As a general rule of thumb, you will need around 1 inch, while forming a slope of ½ inch per foot toward the drain.
However, if you opt to use tile, you might need a thicker base. Usually, you need 2-3 inches, while maintaining the slope mentioned above. Aside from mortar, you also need to prepare grout, to avoid the water from spilling into your subfloor, damaging your entire bathroom with mold.
Placing Mortar Under the Shower Pan

If you are simply replacing a damaged shower pan, chances are your shower floor (curb, pre-slope, and membrane layers) is still intact. That means there is not a lot of work to be done and you can definitely do this by yourself.
If the waterproofing membrane layer needs to be replaced, you can grab your pan liner and follow the installation instructions that come with it. Remember to make a cutting for the shower drain, and make sure that the waterproof liner does not allow water to spill to the lower layers.
After installing the liner, prepare your mortar mix and a flooring trowel. Following the required thickness, pour and spread the mix into the base, then shape the slope as needed.
Once you’re happy with the mortar, install the shower pan. They should have fins that embed into the mortar for support or follow the manufacturer’s instructions for installing the pan. Make sure that the shower pan is level. Wait for 24 hours, and your shower pan should be good to go.
Conclusion
Choosing the right mortar for your shower pan is important because it can spell the difference between an amazing bathroom and a moldy, damaged bathroom. Without the proper structural support, your new shower pan may end up breaking easily. Mortar also provides an even base for the shower pan.
