
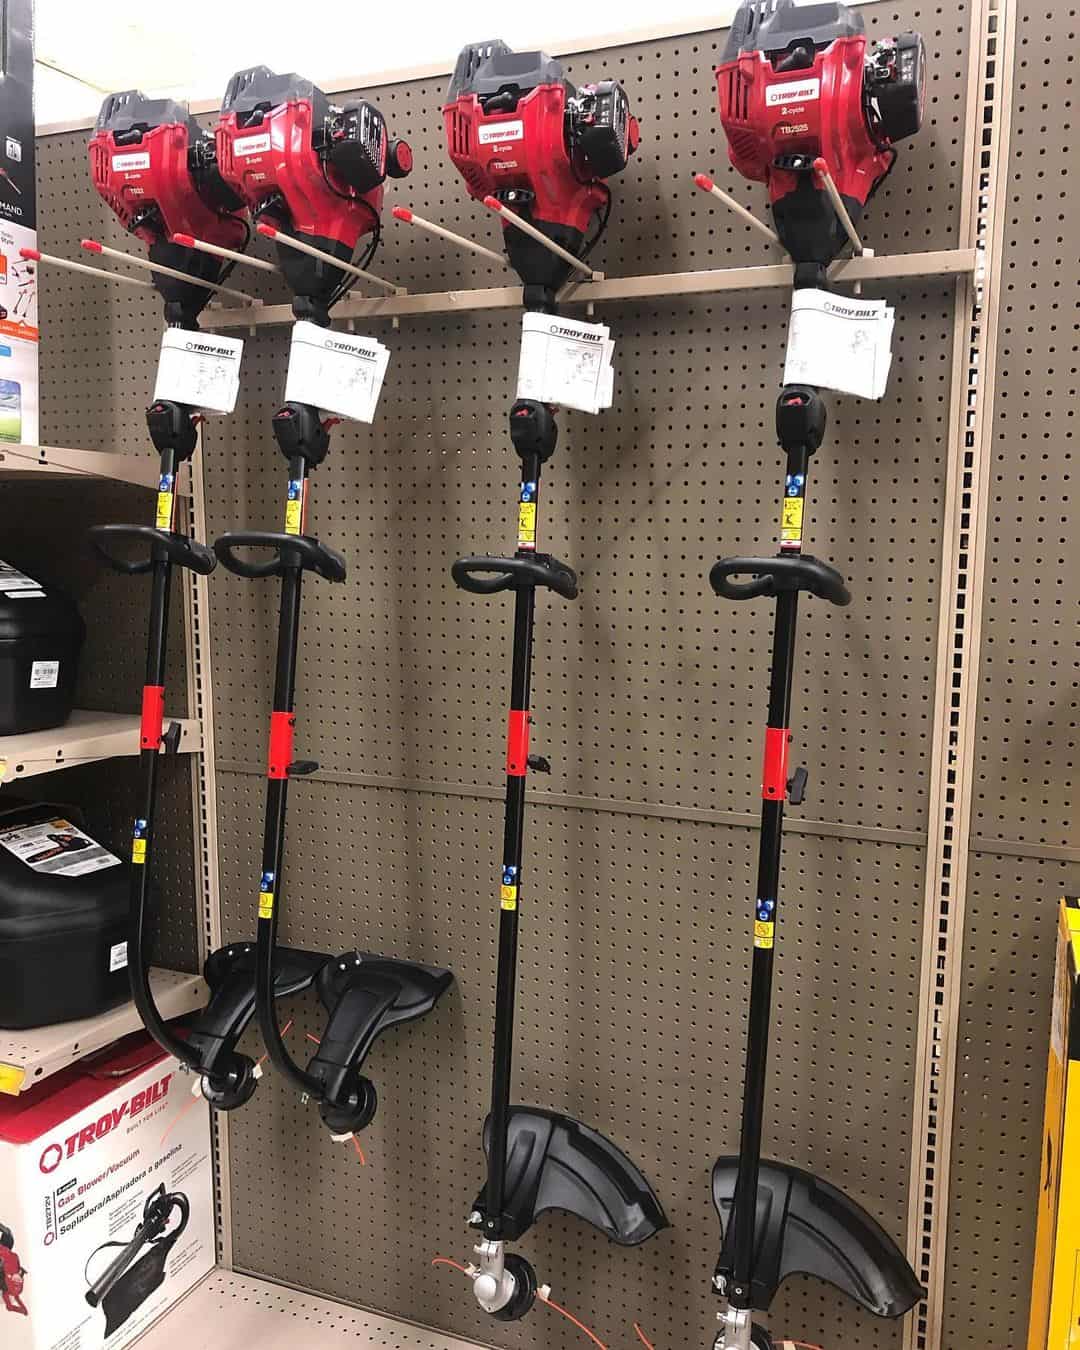
A 4-cycle trimmer from Troy Bilt is an essential tool for any homeowner. It keeps your lawn looking neat and well-manicured. But when your trimmer doesn’t stay running, it can be a real headache.
If your trimmer is having trouble starting, you’ll find that a clogged carburetor is usually the problem that needs to be addressed. This usually happens because fuel has been sitting in the engine for too long. To fix this issue, you can attempt to clean it with a regular carburetor cleaner or have the gas changed entirely. If neither solution works, then your best bet is to have the carburetor changed.
Rather than throwing your hands up in defeat, look at the following troubleshooting guide to help you get your trimmer running strong again.
Common Issues with a Troy Bilt Weed Eater That Won’t Stay Running
These issues can be annoying, but with a little knowledge, you can easily get your trimmer back in top shape. With the right steps and some patience, you’ll be able to get your trimmer running like new again.
1. Check the Fuel
If your trimmer isn’t starting, then the first step is to check the fuel. Make sure you’re using fresh gas and that it hasn’t been left in the engine for too long. If your fuel is old or contaminated, then this could be causing your trimmer to malfunction.
2. Clean the Carburetor
If you’ve determined that your fuel isn’t the issue, it’s time to check the carburetor. This easy and relatively inexpensive fix could save you from buying a replacement part.
- Start by disconnecting the spark plug wire from its connector. This will prevent it from accidentally firing while you are working on it.
- Remove the carburetor bowl and clean any debris or old fuel. Ensure that all parts of the carburetor bowl, including the jets and other small openings, are clear.
- Once all the debris is gone, you can use a spray nozzle cleaner. This will break up any remaining residue or buildup that’s stuck inside the carburetor bowl.
- After cleaning out any additional residue, reassemble the carburetor bowl and reconnect the spark plug. Test the trimmer to see if it’s running correctly before moving on to the next step.
3. Replace the Carburetor
If cleaning the carburetor doesn’t work, you will likely need to replace it altogether. This can be done quickly by ordering a new carburetor from Troy Bilt or a third-party provider.
Step 1: Check Part Model Number
First, you must ensure the part model number on the carburetor matches your trimmer’s manufacturer information. It’s essential to double-check that your part numbers are accurate before ordering a new one.
Look at its underside if you still need to find the owner’s manual for your Troy-Bilt 4-Cycle trimmer.
Step 2: Have the Right Tools Ready
It would be best to gather the necessary tools before attempting this task.
- Needle-nose pliers
- Phillips head screwdriver
- Flathead screwdriver
- Socket wrench set (metric and standard sizes)
- Carburetor cleaner or new fuel line
Step 3: Remove the Throttle Cable, Hose, and Screws
Begin by detaching the rubber piece on the exterior of your weed wacker. Following this, take out the screws located near the outer throttle and remove the plastic covering to access the carburetor.
Before disassembling the carburetor, take a snapshot of what it looks like. It may seem tedious now; however, if this is your first time making these sorts of repairs, then taking an image beforehand will be immensely useful for reconnecting all the components properly afterward – trust me on that one! And remember to reposition the hose connected to the plastic covering.
Use your socket set to remove the screws connecting the carburetor to its base. After this, you’re ready to pull out the entire part. To do this, carefully tug the throttle cable and disconnect it from the carburetor.
Step 4: Change Your Fuel Lines
It is recommended to have one yellow and one green fuel line. If you identify clogging or any damage, replace them immediately. Usually, this blockage results from fuel degradation over time; therefore, ensure that the old product has been exchanged for a new one before running your vehicle.
Step 5: Replace the Carburetor
Once the part has been replaced, use your picture of its initial state to help you put it back together. Ensure that all screws and parts are in their prior positions before proceeding. After this, replace the plastic covering and connect the rubber piece overtop.
Finally, reattach the spark plug wire and turn on your trimmer.
4. Air Filter Blockage
First, remove the two screws near the throttle to access and replace your air filter. This will allow you to lift off the cover below, which contains your air filter – no need to disassemble anything else!
It is critical to check for blockage, which can cause your engine to overheat. An excessive amount of clogs will result in this problem, so it’s wise to incorporate a replacement into your regular upkeep routine.
5. Fuel Line Damage
If you’re still having issues running your trimmer, it could be due to a damaged fuel line. As a result of an empty fuel tank or prolonged exposure to the elements, the rubber hoses can become dry and brittle. Inspect all lines for any wear or tear and replace them if necessary.
6. Fuel Filter Clog
Another potential problem is fuel filter clogging. The fuel filter prevents debris from entering the engine’s combustion chamber and can cause your trimmer to stop running if it gets blocked. Replace the fuel filter every year or two to prevent any blockages from occurring.
7. Spark Plug Issues

The spark plug is an integral part of any engine-driven tool. When it’s not working correctly, it can cause the engine not to start or stay running. Check your spark plug for any signs of wear and tear, as well as any dirt buildup. Use the correct spark plug specified by Troy Bilt in your owner’s manual if it needs replacement.
Replacing the spark plug is an easy and inexpensive fix that can get your trimmer running again.
8. Inspect the Ignition Coil
If all of the above fails, you might have to replace your ignition coil. The ignition coil is what creates the spark that starts your engine. If this part is worn out or damaged in any way, it won’t be able to create a spark and thus won’t keep your trimmer running.
9. Ensure Gasoline Is Filling the Carburetor
The carburetor is the engine’s air and fuel mixer, and if it isn’t functioning properly, your trimmer won’t work. Inspect the carburetor to ensure all parts are present and working correctly. Also, check the gasoline tank for any possible blockages or clogs, which can prevent the gas from filling up the carburetor.
10. Check for Airflow Blockages
If your 4-cycle trimmer doesn’t stay running, air blockage may occur in the engine’s ventilation system. Remove debris and dust buildup around the air filter to ensure proper airflow. If the filter is damaged or worn out, replace it with a new one from Troy Bilt.
11. Check for Faulty Wire Connections
Improper wiring can stop your trimmer from running correctly. Inspect each engine’s wire connection to ensure no loose connectors or wires. Test each connection with a multimeter to make sure it is functioning properly.
If you are still looking for the source of the problem, bring your trimmer in for service from Troy Bilt or a certified technician. With their help, your trimmer will run like new in no time!
Tips and Tricks to Keep Your Troy-Bilt 4-Cycle Trimmer Running
- Clean or replace the air filter yearly to keep it from getting clogged and causing your engine to overheat.
- Inspect all fuel lines for any damage or wear and tear, and replace them if necessary.
- Change the spark plug regularly to avoid misfiring or other engine problems.
- Inspect the ignition coil and the carburetor for any malfunctioning parts.
- Make sure the ventilation system on your trimmer is clean and unobstructed.
When using your Troy-Bilt 4-Cycle trimmer, it’s important to keep up with regular maintenance and checkups. Simple practices, such as replacing and cleaning air filters, fuel lines, spark plugs, and ignition coils, can prevent any serious issues down the road.
Additionally, it’s a good idea to store your trimmer in a dry, sheltered space when not in use. This will ensure that the engine, fuel lines, and other components remain in good condition.
And finally, always refer to your owner’s manual for the correct specifications when replacing any of these parts. Following these few tips will keep your trimmer running for years to come.
Final Thoughts
Regular maintenance and upkeep can prevent many issues with your Troy Bilt 4-Cycle trimmer. With a few simple steps and some basic knowledge, you can have your trimmer running like new in no time. Remember, it’s always a good idea to seek professional assistance if all else fails.
No matter the issue, there’s always a way to get it back up and running!
Good luck, and happy trimming!