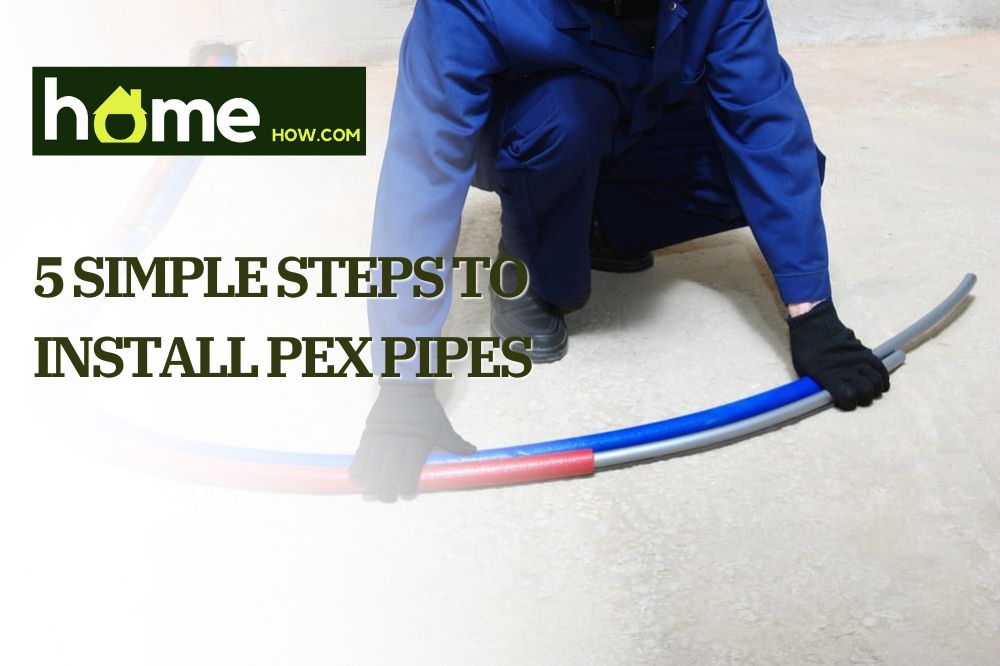
You wouldn’t believe it but you can install PEX pipes on your own without having to call a plumber. It is easy especially if you are DIYer.
As we all know, PEX pipes are great options for water, specifically, cold lines and outdoor fixtures. They can be installed even without having to hide them. Installing these pipes does not require welding or soldering, and this is the main reason why you can do it yourself.
In this article, we will have an overview of PEX pipes and we will take a look at the step-by-step method of the installation of PEX pipes.
PEX Pipes: What Are These Tubings?
Generally, PEX pipes are flexible pipes being used instead of copper and steel. For DIYers, these tubings are popular because they are easy to use and install.
PEX is the short term for cross-linked polyethylene. Back then, these pipings were used because they are known to be durable.
Aside from their elasticity and value for money, using these pipes gives you the following advantages:
- PEX supply is impenetrable to corrosion, mineral accumulation, and degradation compared to steel and traditional copper that are galvanized.
- PEX pipes are also very efficient. They have amazing thermal resistance and they prevent loss of heat.
- Because they are made of plastic, these pipes do not make irritating noises. When water runs through them, with proper installation, you will not have to worry about those rattle sounds you usually hear from steel and iron pipes.
- The best option for potable water supply on your house’s sink.
Of course, to be fair enough, there are also some disadvantages when it comes to PEX pipes. Some of these are the following:
- If you fail to install these pipes properly, you might only cause cracking not just to the pipes but to your pocket as well when leaks occur.
- Cannot be placed in locations or areas where the pipes can be exposed to heat. Thus, this also means that these pipes will not be fit for heaters.
- UV light affects the quality of your PEX pipes and the water that runs through them. This means that these pipes should not be placed in an area directly to sunlight.
- Chlorine waters can damage PEX pipes and your drinking water can also be contaminated by PEX pipes.
- Prone to being damaged by rodents and pests because of the pipes being made out of plastic. Unfortunately, this can cause contamination of your drinking water as well.
Before you install these pipes, you have to take note of these advantages and disadvantages, especially if the environment in your home can affect the quality of these pipes.
Materials Needed When Installing PEX Pipes
For PEX plumbing experts, there are two important things to remember when installing PEX pipes. The first one is the materials needed and the second one is the skills.
If you know you have the latter, here are some materials that you want to collect first before installing PEX tubing.
1. Cinch clamps or crimp rings
These stainless steel clamps are essential when installing PEX pipes. They are used to secure the PEX tubing’s joint.
Generally, these two are different from one another. The cinch clamps, also known as pinch clamps, have a portion that is supposed to hold the clamp to give way for a connection. This portion is actually raised and when you are done inserting the tubing into this raised portion, you will have to pinch it to complete the process.
On the other hand, crimp rings are circular metals that basically look like simple wedding rings. They are used by sliding the tubings inside them. Using a crimp tool, this copper ring will then be compressed to complete the process.
2. Push-fit fittings
These compression fittings are essential for pipeworks as well. They are used to seal into your pipes and they are so much easier to use because all you have to do is to push them and they will eventually fit your pipes.
The only thing that you must consider here is that you should know the right fittings for your pipes. When you buy pipes, some manufacturers already include these PEX fittings in your parcels. If yours do not have one, you can go to a hardware store and ask the staff to choose the best fittings for your pipes.
3. PEX cutter
If you always want to get a smooth cut on the end of the PEX pipes, having a PEX cutter is highly recommended. Generally, PEX cutters work for large pipes as well and all you have to do is use it like a scissor.
If you do not have a PEX cutter, you can use a PVC cutter instead. Remember, if you have round pipe ends, this can cause water connection failure.
4. Decrimping tool for PEX
This PEX material is optional but if you have an extra penny, you are advised to get one. Generally, this decrimping tool is used to remove your cinch clamps and rings easily without damaging your pipes.
5. Crimping tool for PEX
If you do not want to manually pinch or crimp your rings, you can use a PEX crimping tool or clamping tool instead.
For easier crimping, there are ratchet tools that you can purchase as well. These tools are made perfectly fit for rings and clamps during the compression and crimping process.
PEX Pipes Installation: Step by Step
After knowing the materials needed, we will now discuss the proper installation of PEX pipes. If you are new to home repair and construction, following the steps below will be of great help to you.
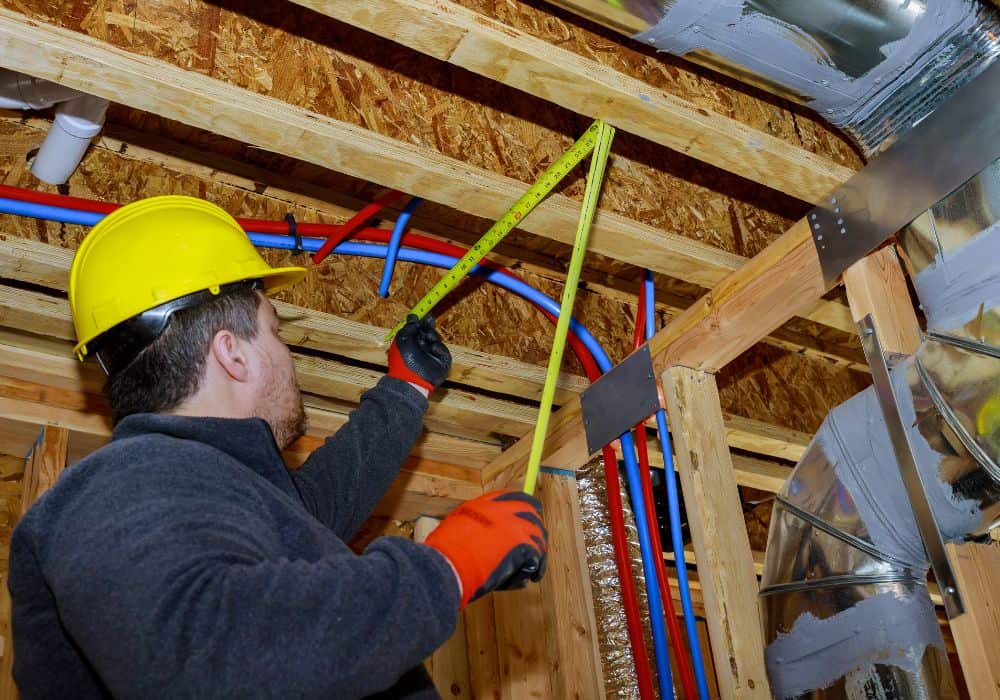
1. Find the pipe route
When we talk about finding the pipe route, we refer to proper planning of installation. First and foremost, you have to plan, and on this planning, here are some of the things you want to consider:
- The number of PEX pipes you need
- How long should the PEX pipes sleeve be
- Do you need copper pipes as well?
- Where you should install the pipes and how many fittings are needed
If you do not have the materials yet, it is better if you jot them down on a piece of paper before heading to a store to get them to ensure that you will all be able to purchase the materials that you will need.
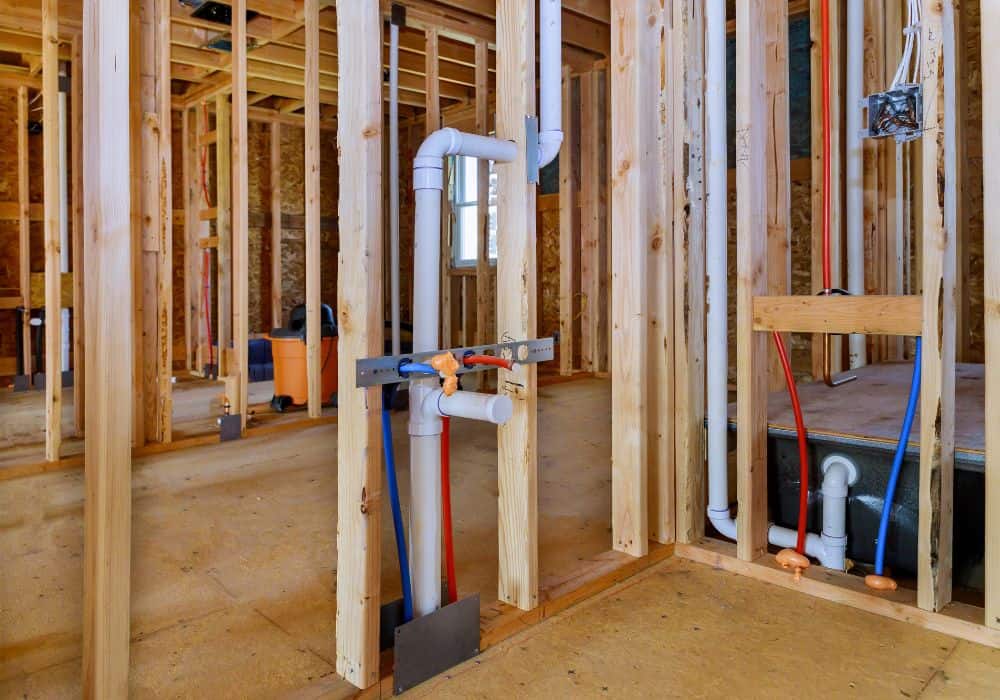
2. Ensure that all your materials are complete
Before you start working, you are also encouraged to draw a draft of your work. Be sure that you know where your pipes and valves are, and where you should place your fittings, rings, or clamps.
If you want to work on your water heaters, do not directly connect your PEX pipes as they will be damaged. Instead, use a heater line for both hot water lines and cold water lines.
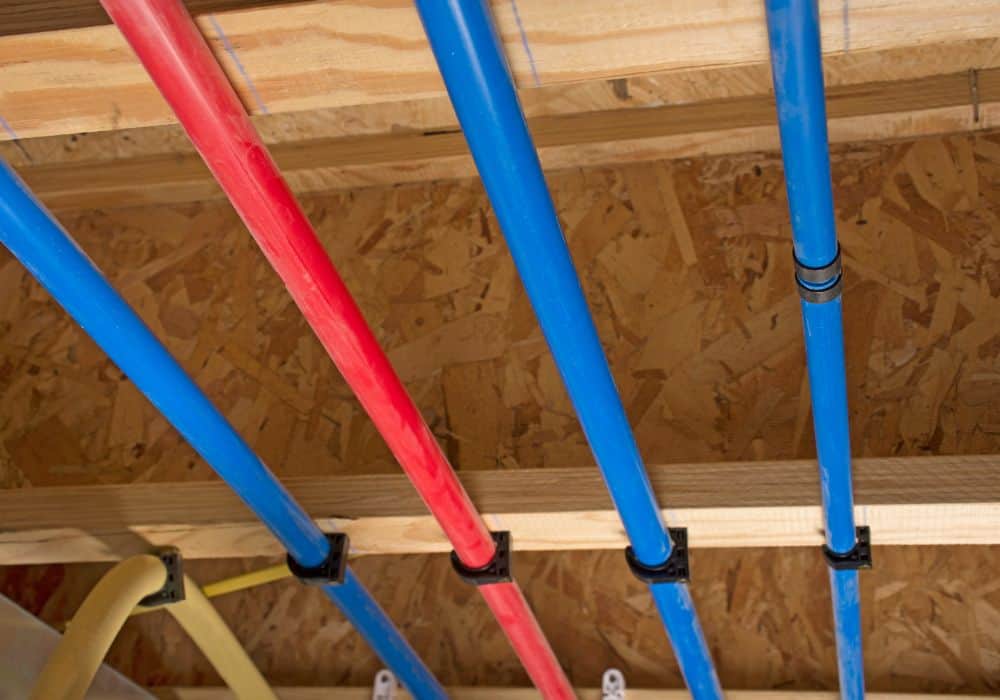
3. Place the PEX tubing
There are many ways to place your PEX tubes and the common ones are vertically and horizontally. For the former, you should at least put support for every 122 cm, and for the latter, 82 cm.
This technique is made to keep the tubing still and supported no matter how much high water pressure is being run through it. For better support, you can also consider using drop-ear bends, shut-off valves, and iron adapter fittings.
4. Clamp the tubings well
When you install your PEX pipes, make sure that you are using the right clamps and rings. When installing these rings, you must slide them at least 0.25 inches from the end of the pipe.
When you place a ring, make sure to clamp it well. As much as possible, do not forget to place all the necessary rings because this may cause leaks and damage in the future.
5. Run a test
After installation, you are required to run a test. Open your water main line and check the tubing for any leaks. If there is none, you are good to go!
However, if there are any leaks, you should insert new rings or clamps. For removing the used rings, you can consider a decrimping tool. When you are done, give the tubing some time to dry. After a few hours, get back, open the water line, and check for leaks again.
Final Thoughts
Indeed, PEX pipes are one of the best pipes you can use nowadays. They are efficient, flexible, and easy to use when you want to repair PEX pipes due to freezing.
Although these pipes offer many benefits, you should also understand that they come with downsides and the most common one is their susceptibility to heat and damage.
Anyway, if you still want to consider these pipes, you can do so. In fact, you can even install them on your own as long as you have the necessary tools such as fittings and cutters.
Before you install your PEX tubings, you must at least plan ahead. After installation, you should check for leaks to ensure successful installation. You will also know if you have done the installation properly when your water supply lines have been gauged.