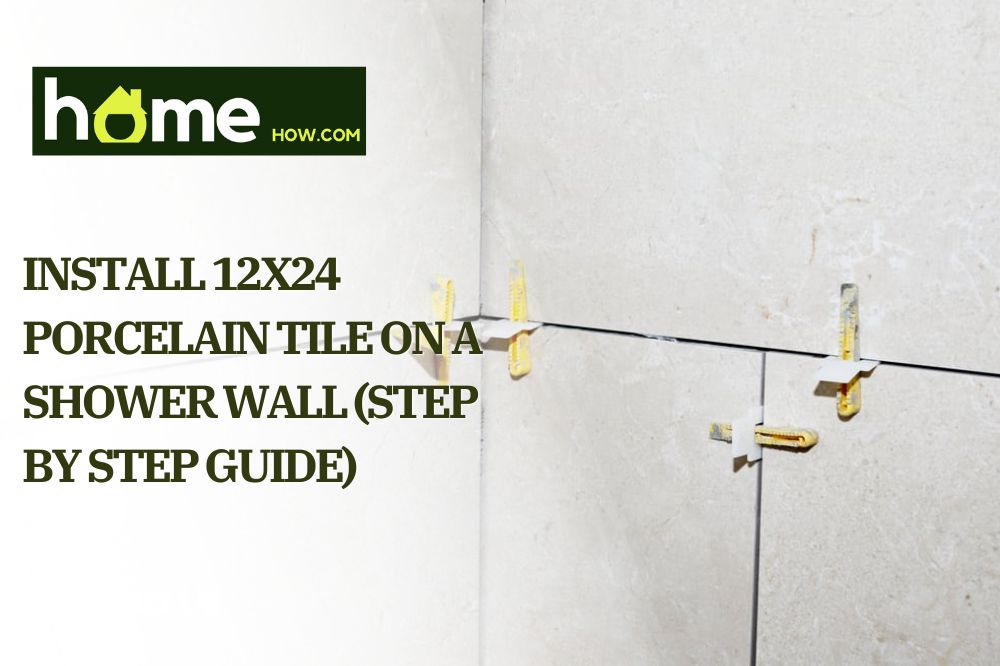
Are you renovating your bathroom look? Do you want a modern and contemporary touch? If yes, then you must have considered 12×24 porcelain tiles.
This porcelain tile size is very popular, though it isn’t correct.
The actual size of these tiles is 30x60cm, which converts into 11.811 x 23.622 inches. But since it is difficult to use this measurement again and again, people refer to these tiles as 12×24 inches.
Nonetheless, 12×24 porcelain tiles are widely used in showers, kitchens, and commercial workspaces. The large size gives an elegant and spacious feel to the indoors. So if you have decided to use them too, here’s how to install 12×24 porcelain tile on a shower wall!
Things You’ll Need
Using the right tools makes a world of difference in the final results. If you want your shower tiles to look perfect, make sure to arrange the following items beforehand:
- Hammer and chisel
- Replacement Backer Board
- Knife or Jigsaw
- Concrete Backer Board Screw
- Drywall Tape
- Flat Margin Trowel
- Half-inch Notched Trowel
- Rubber Grout Float
Step-by-Step Method to Install 12X24 Porcelain Tile on a Shower Wall
Once you’ve everything needed, follow these instructions to install the 12×24 porcelain tiles.
Step 1: Decide the Pattern & Orientation
First of all, you need to decide on the pattern of the shower tiles. Usually, people install them in a straight-lay or offset pattern. The straight lay offers a modern look, whereas the offset gives traditional vibes.
If you choose an offset pattern, be careful with the percentage. The 50% offset pattern is not recommended in 12×24 porcelain tiles for two primary reasons:
- Porcelain tiles are bowed at the corners. This means a slightly bulging center that looks like a basket weave when laid down in a 50% offset pattern.
- 12×24 porcelain tiles are large and difficult to handle. The bulging center makes things even more complex and often results in an uneven layout.
So, we recommend a 33% offset pattern. This can be laid down in a stair step or zipper style, whatever looks the best to you.
Another aspect to consider is the orientation of the tiles. A vertical orientation makes the space look longer, whereas a horizontal orientation makes it appear wider. Since you’re installing the tiles on the shower wall only, it’s suggested to follow the orientation of the main bathroom walls.
Step 2: Prepare the Wall
When you’ve planned the looks of your tiled shower wall, it’s time to remove the old tiles with a hammer and chisel. If there are any screws installed in the wall, get them out using the reciprocating saw.
Typically, the backer board won’t be damaged in the process. But if it is damaged while trying to remove the tiles, you will have to replace them. This is because the backer board provides structural support to the shower and prevents moisture from seeping into the internal walls.
The backer board is in a position to provide much-needed support for the shower system by working as structural sheeting.
To do so, measure the shower wall and mark the backer board. Then, use a knife to score and cut it along the markings. If there are curves on the backer board, use a jigsaw to cut it neatly and smoothly.
Once it is prepared, use concrete backer board screws to attach it to the studs. When the boards are in position, you will have to secure the joints with drywall tape. Now, apply a coat of thinset mortar on the entire taped backer board.
Step 3: Mix Your Mortar
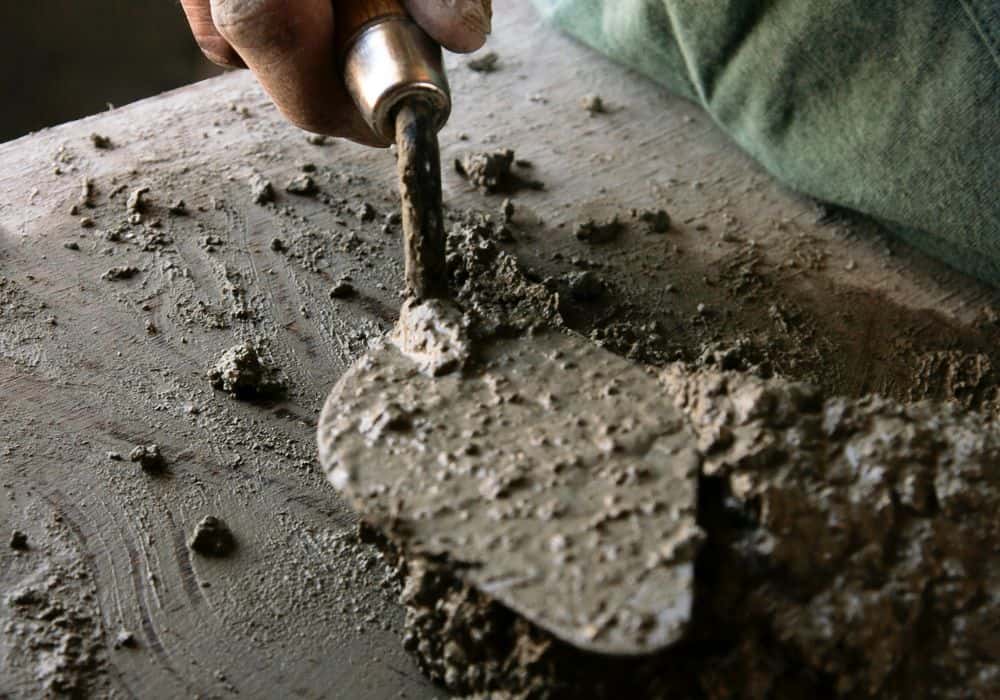
Usually, people use a thin set to install tiles. However, when installing large format tiles (like 12×24), always use medium bed mortar. It forms a thick layer to support tile weight and is easier to work with.
There are several pre-made mortar mixes available in the market. You will just have to add 1 part of water to 3 parts of the mix in the bucket. Then, mix it to create a thick, smooth paste.
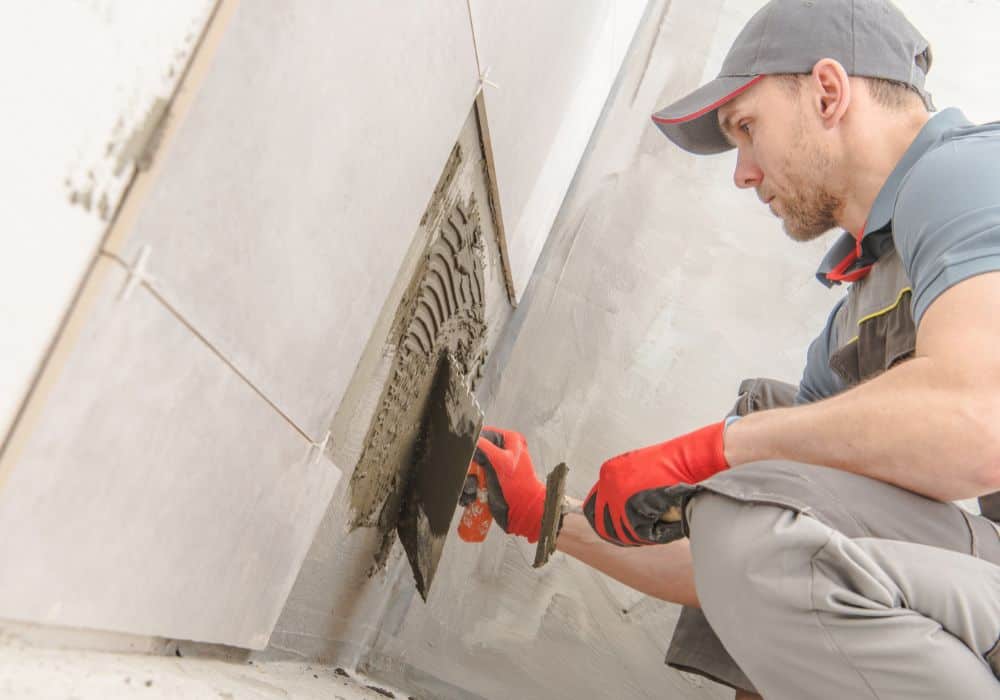
Step 4: Lay Down the Tiles
Once the mortar is ready, use a flat-margin trowel to apply some mortar on one area of the back wall. Then, use a ½ inch notched trowel to spread it out. While the mortar is still wet, quickly pick up the wall tile and back butter it.
Back buttering refers to a technique in which you use the flat margin trowel to apply a thin coverage of mortar on the backside of a tile. This allows it to strongly bond with the wall. So, first back butter and then place the 12×24 porcelain tile on the wall.
Repeat the process for the entire shower wall. At the ends or sides, there will come a point where the tile will be too big to be adjusted. In this case, measure the area and cut the tile to size with a tile cutter.
Also, although it is not mandatory, you may want to use tile spacers between each joint width to ensure the gap is consistent throughout the wall. Another useful tip is to clean excess mortar as you go. Mortar gets dry pretty fast, which makes cleaning afterward a hassle.
Instead, when you have pressed a tile into the wall, grab the flat margin trowel and clean the sides immediately. You can also use a wet sponge to remove any mortar on top of the tiles.
Step 5: Grout the Tiles
After placing the tiles, you should give them a rest period of 24 hours. This will allow the mortar to dry completely and strengthen the adhesion. Once the time has elapsed, gently take out the spacers and put them aside.
Now, prepare the grout in a tub for application. Generally, the tile manufacturers recommend a specific grout for the tiles (sanded or unsanded). But if there are no instructions, know that you should never use sanded grout for tiles that can be easily scratched.
Add water to some of the grout mixes to create a thick material. Never prepare the complete grout mix, as it will dry immediately. Just prepare some at a time and apply it onto the tiled wall with a rubber grout float.
Use a wet sponge to clean off excess grout and let it rest for a couple of days. After this period, apply a grout sealer to finish off the installation.
Final Thoughts
All in all, installing 12×24 porcelain tiles isn’t very difficult. We have already discussed all the steps in detail, and if you follow them closely, there is no reason why you would fail at this simple DIY project.
However, if there was something you found confusing or complex, let us know in the comments below. We will be more than happy to resolve the query!