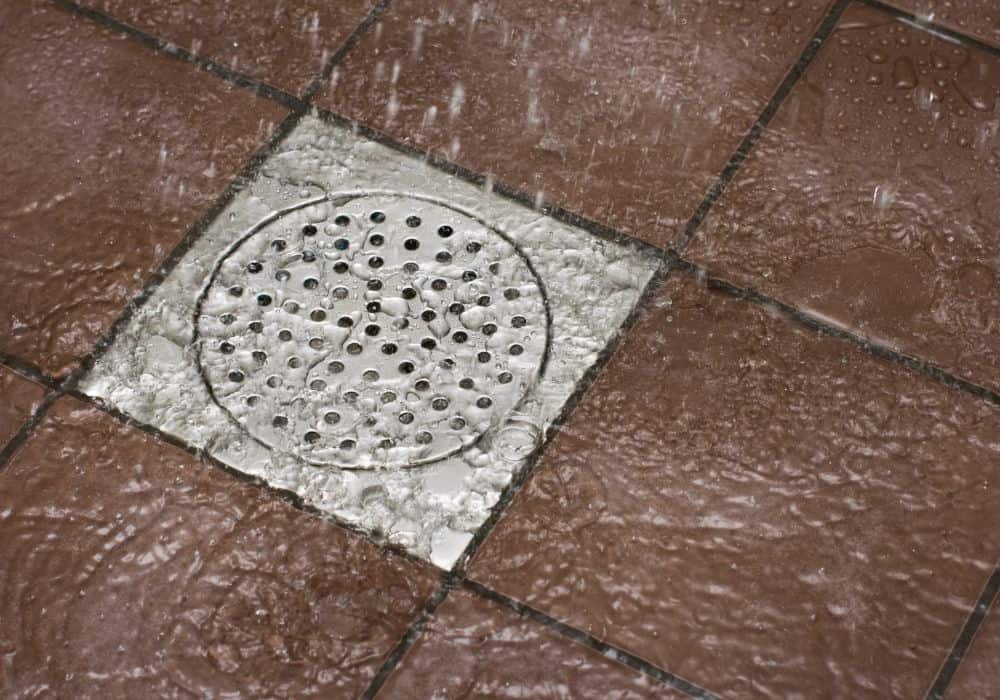
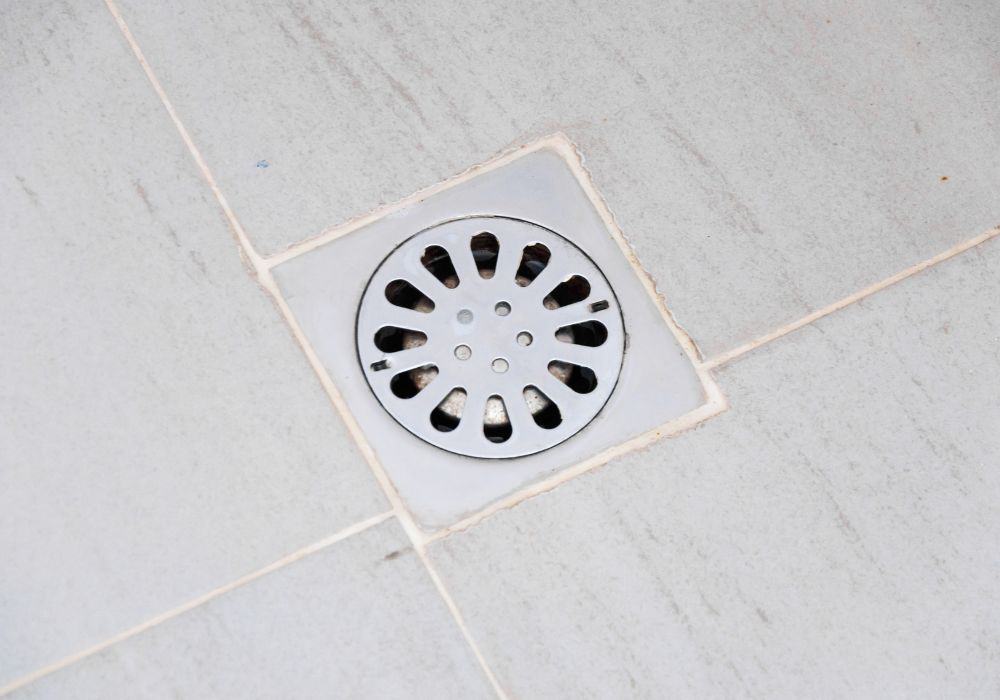
Are you looking to remodel your bathroom? If you would like to update your bathroom by adding a new and more powerful shower, you need to know the technical details such as what is the right size pipe for the shower drain.
Installing the right size pipe for the shower drain is important as it will keep your drains working efficiently and stop the shower from overflowing. In this article, we will not only answer the question about the correct size pipe for a shower drain but cover other key information on installing shower drain pipes, too.
Read on to find out important information for installing a shower drain.
Why is The Right Size Shower Drain Important?
The size of the shower drain is specified in building codes, and we will cover this information in a moment. First, it is important to understand why installing the correct size pipe for your shower drain is important. Unlike shower-bathtub combinations, stand-alone showers have a low threshold for flooding because they do not have high walls.
Sometimes to lower the cost of construction, bathroom fitters may try to get away with using a smaller pipe size of 1 1/2 inches. In most cases, this will not be sufficient to keep your water flowing efficiently and will lead to your shower flooding and overflowing onto your bathroom floor.
Unless you have a wet room, just a few instances of flooding can lead to major problems with your flooring and subflooring. Repairing the damages can be costly so you are better off spending a little more money on the right size pipe in the first place.
What is The Standard Size Pipe For Shower Drains?
Most building codes will require a two-inch pipe for shower drains or pans. This should be enough to keep even shallow trays from overflowing. However, building codes vary depending on the country or the area.
For example, some states in the United States only require one-and-a-half-inch pipes for shower drains. Even if the regulations do not require a two-inch pipe installation, you may still want to use it. Also, most standard shower pans and trays are already outfitted for a two-inch pipe.
Is it Possible to Use a Smaller Drain Pipe?

If the building code doesn’t require you to use a 2-inch drain pipe, it is possible to still use a pipe with a smaller diameter. If you wish to use a 1.5-inch pipe on a drain with a two-inch outfitter, plumbing experts say you can reduce the pipe size by gluing in a reducer to make the opening smaller.
However, before you decide to go with a smaller drain pipe, consider how much water you have running down the drain. For example, if you are going with a shower that has multiple shower heads, a smaller pipe will struggle to drain the water fast enough.
If you are not sure whether you can get away with the smaller pipe size, speak to a professional regarding the water flow of your specific shower.
What is The Right Pipe Size For Shower And Bath Combinations?
While more people now prefer to have walk-in showers and a separate bath, some bathrooms may not have enough space for both a shower and a bath. If space is an issue and you want to install a shower and a bath combination, does this change the size of the drain pipe you need?
When installing a shower in your bathtub, you can use a smaller drain pipe. Because the tub is designed to hold more water than shower trays, this reduces the chance of overflowing. One-and-a-half-inch pipes are sufficient to keep the water draining fast enough and not getting too backed up.
If you are installing a bathtub with a shower in your bathroom, you should also know that while a shower base is usually independent, the bathtub is not. In a shower, the wastewater is discharged directly into the plumbing system through a trap inside the shower drain. In the bathtub, an outlet is needed similar to a sink.
Therefore, it is advisable to consult a professional plumber regarding measurements and testing even if you are doing the installation yourself. For more details on different size pipes for showers, baths and sinks, we recommend this video.
How to Install Different Types of Shower Drains?
Depending on the drain you have, there are different steps to install them. Below, you will find brief instructions on how to install compression-style drains, solvent-glued drains, and tiled drains.
1. Solvent-Glued Shower Drain
You should only use a solvent-glued drain if you have access below the shower for example, from a crawlspace or an unfinished basement. If there is no access, then you should opt for a compression-style drain.
- Adjust the drain pipe according to the manufacturer’s instructions. In most cases, this will be at the exact level of the subfloor.
- Disassemble all parts of the assembled drain and set aside the cardboard friction washer and rubber seal washer.
- Apply beading of silicone caulk around the flange. Set the upper body of the drain into the drain opening and press down.
- Place the rubber seal gasket and the cardboard friction gasket over the male threads of the upper body from below the base of the shower. Thread the lower body to the upper body and tighten.
- Clean away excess silicone and attach the metal grate.
- From below the shower base, spread the plastic pipe primer around the edge of the drainpipe and socket and then spread solvent glue on the same surfaces. Slide the drain pipe into the socket and hold until the bond hardens.
Note: Do not use the shower for at least 24 hours to allow the bond and silicone to cure fully.
2. Compression-style drains
Compression washers and nuts attach the drains to the drain pipes the installation is easier than solvent-glued drains. Although PVC pipes are fast becoming most popular, they are also available in brass and ABS. They can all be used with fiberglass, acrylic, or steel shower bases.
- Trim the drainpipe, which should come up to about 3/4 to 1 inch below the shower drain lip. Test fit the shower base to mark the right height and then remove it to cut the pipe. You can use a hacksaw or a tube cutter to trim the pipe.
- Attach the drain assembly by applying silicone caulk around the top flange on the drain opening. Insert the drain into the opening.
- Next, put the rubber seal washer first, followed by the cardboard friction washer over the tailpiece of the drain.
- Thread the mounting nut onto the tailpiece and tighten it with pliers.
- Position the shower base so the drainpipe extends up into the assembled drain and insert the compression gasket.
Important: leave the silicone to cure for at least 24 hours before you use the shower.

3. Tiled Drains
Tiled drains are three-piece units that are installed during different phases of the tile pan installation. The strainer is the only unit that will be visible when the shower drain installation is complete.
- Prepare by ensuring that the subfloor area is clean and then install the flange on the bottom into the drain pipe usually with solvent glue.
- Trowel some mortar around the opening of the drain to create a slope toward the drain and away from the walls.
- Once the mortar has dried, install a waterproof liner over the floor. Ensure that it also covers the lower flange. Seal the liner with silicone caulk and trim any excess liner around the opening.
- Install the middle flange using bolts to secure it to the bottom flange. Pour water over the shower pan to check the liner for leaks.
- Attach the drain strainer so it extends up above the liner. Follow the manufacturer’s instructions regarding the degree of extension for the strainer.
- You can now install the rest of your ceramic tiles. Ensure grouting and all seals are fully cured before you use the shower.
Conclusion
When you decide on the drain pipe size for your shower drain it is important to consider the water flow in your shower. In most cases, a 2-inch pipe is recommended to ensure the drainage system works effectively and there is no danger of overflowing.
In some cases, for example, when installing a shower in a bathtub, a smaller drain size may be sufficient as long as you do not mind excess water around your feet. If you have any questions about what size pipe for shower drains, you can write them in the comments box.
